Fix print bed plate adhesion issue The ultimate guide
You walk into your workshop or 3D printer area, expecting a clean, finished print… and instead you’re greeted by a plastic spaghetti monster taking over…
You walk into your workshop or 3D printer area, expecting a clean, finished print… and instead you’re greeted by a plastic spaghetti monster taking over your build plate.
And it doesn’t matter which printer you’re running, whether it’s the Bambu Lab’s A1 or Creality’s Ender or Prusa’s MK3.
Prints coming off the build plate is not a new phenomenon, and it’s rarely about the 3D printer itself.
In this article, we’re going to tackle one of the biggest nemeses of 3D printing: Bed adhesion.
We will look at why prints warp, why the models pop off mid-print, and some of the methods you can use to make sure the first layer sticks like cement to the print surface.
What Is Bed Adhesion?
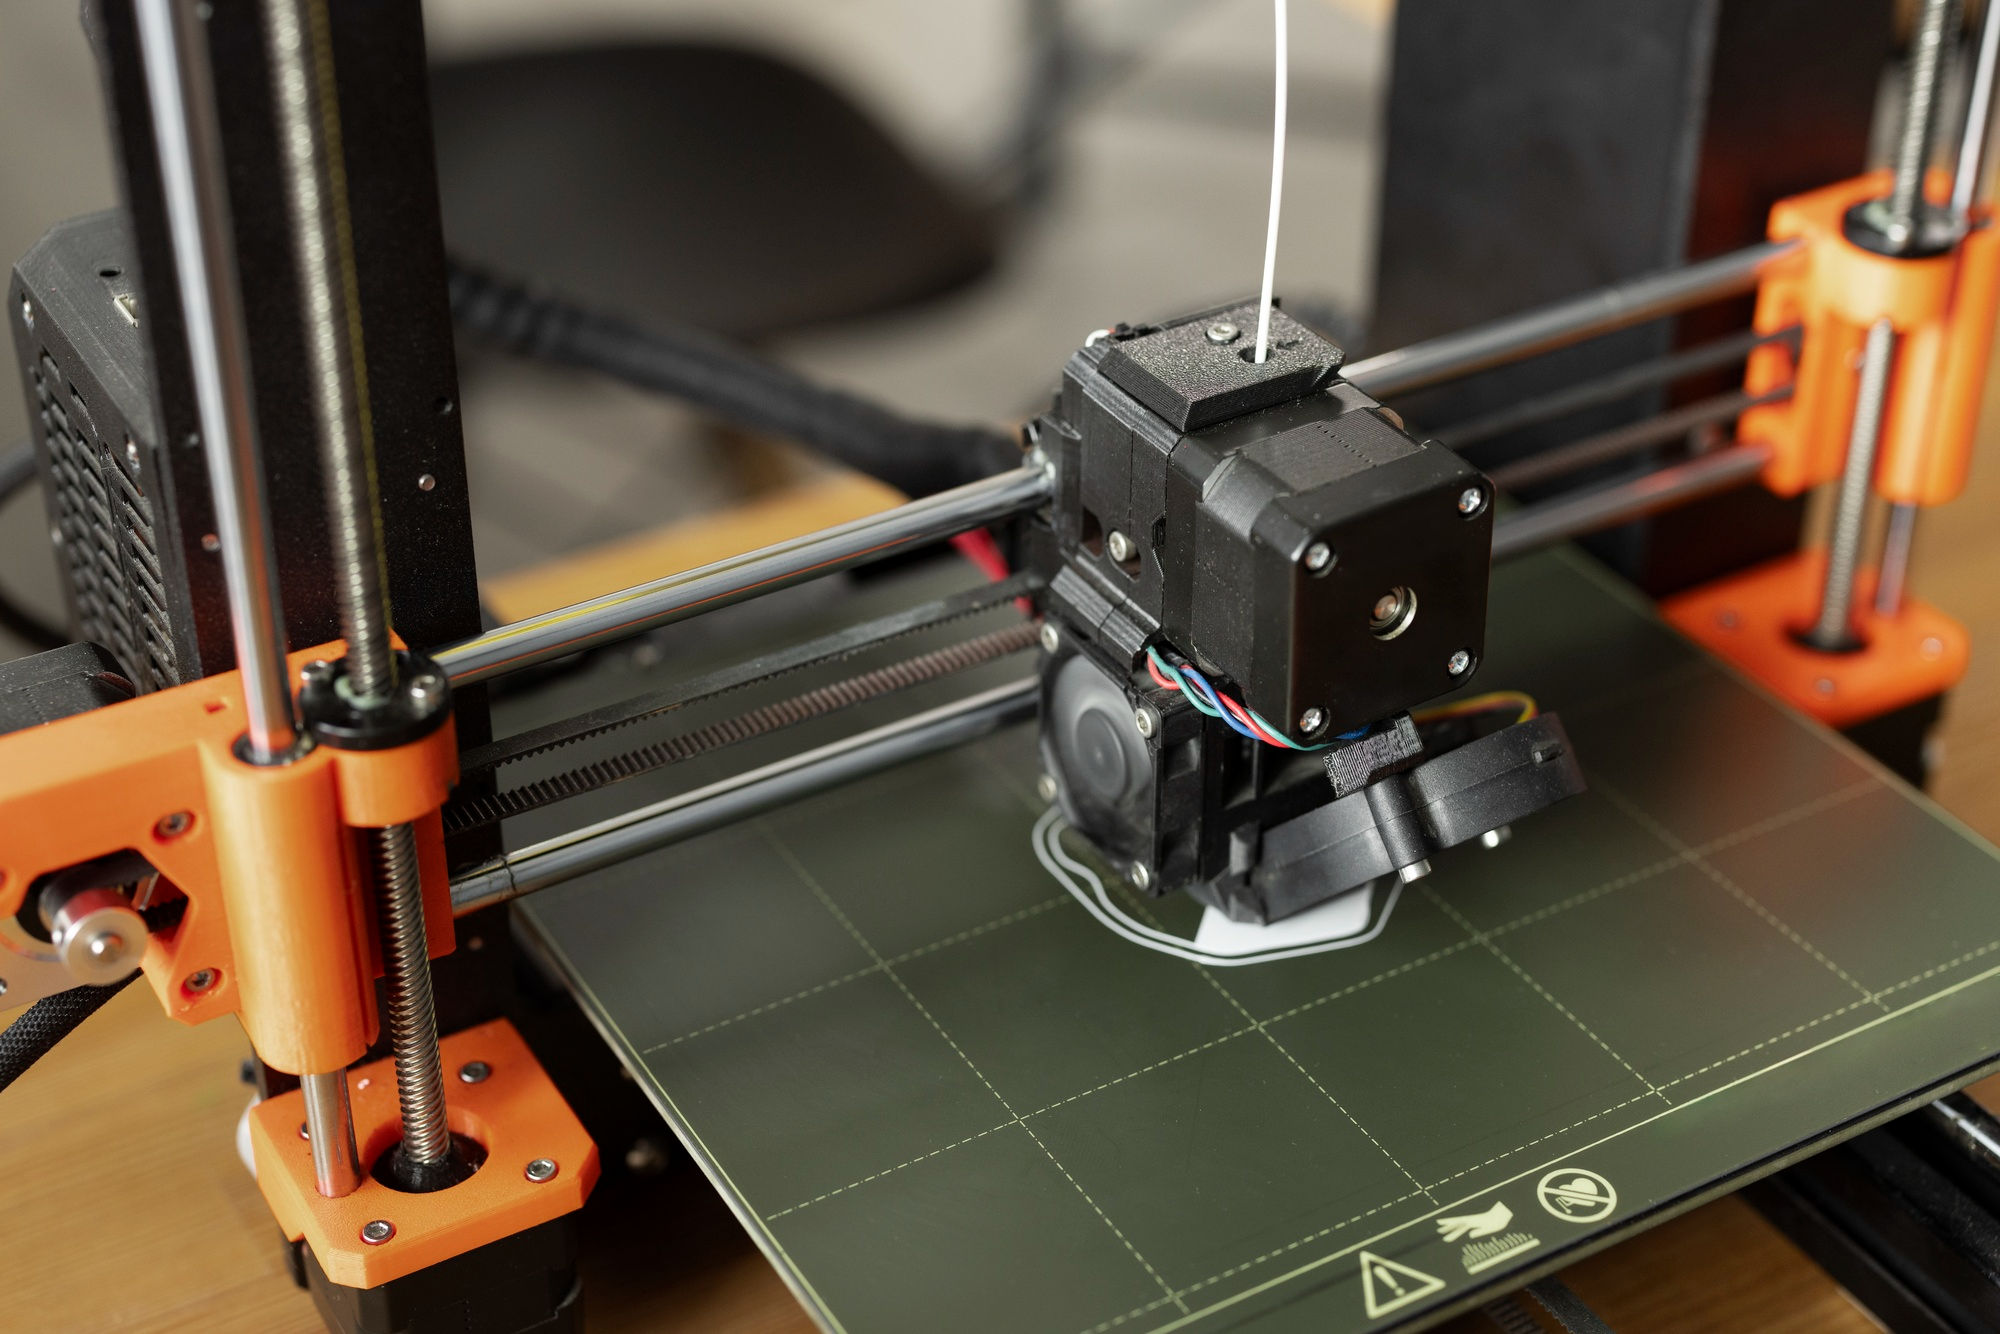
Before we start scrubbing our build plate, let’s first define what we’re working with.
“Bed adhesion” refers to the ability of 3D-printed plastic to stick to the build plate while printing.
It is quite literally the foundation of your entire 3D model.
If your foundation is weak, the whole structure fails.
In 3D printing, the plastic exits the nozzle in a molten state.
As it cools, it contracts.
If the bond between that first layer of plastic and the build plate isn’t strong enough to resist the pulling force of that cooling contraction, the print will peel up, warp, or detach completely.
Poor bed adhesion is not only about failed 3D prints or wasted material.
It leads to dimensional inaccuracies if the corners get warped, in turn messing with the tolerances of your models.
Further, if the print lifts off the plate, chances are the extruding filament wraps around the hot end, causing the “Blob of Death”.
It can entirely ruin your hot end and even cause fire and safety hazards.
1. Level your print bed
The leveling step is the single most important thing for ideal bed adhesion.
If you take one thing from this guide, let it be this.
You can have the most expensive glue in the world, but if the nozzle is printing in thin air, it won’t matter.
While almost every modern 3D printer has Auto Bed Leveling (ABL), we still need to tell the printer how to lay down the first layer effectively.
2. Slow Down to Speed Up (Slicer Settings)
Since you aren’t manually turning knobs much these days, the real magic happens in the slicer software (Cura, Bambu Studio, PrusaSlicer).
The default settings can often be aggressive for the first layer.
Initial Layer Speed: The molten plastic needs a split second to bond with the bed surface.
Slow your initial layer speed down to 20 mm/s – 40 mm/s at max.
It adds only a few minutes to the print time but drastically increases the success rate.
Initial Layer Width: If you’re using a standard 0.4 mm nozzle, increase your Initial Layer Line Width to 120% (or 0.5 mm).
This forces the printer to extrude more plastic than usual, squishing it into the bed and increasing the surface area slightly.
This increases the grip of the filament, leading to better bed adhesion.
3. Set the Z-Offset
IceStormNG via Thingiverse https://www.thingiverse.com/make:905591#Summary
Even with auto-leveling, the Z-offset is critical.
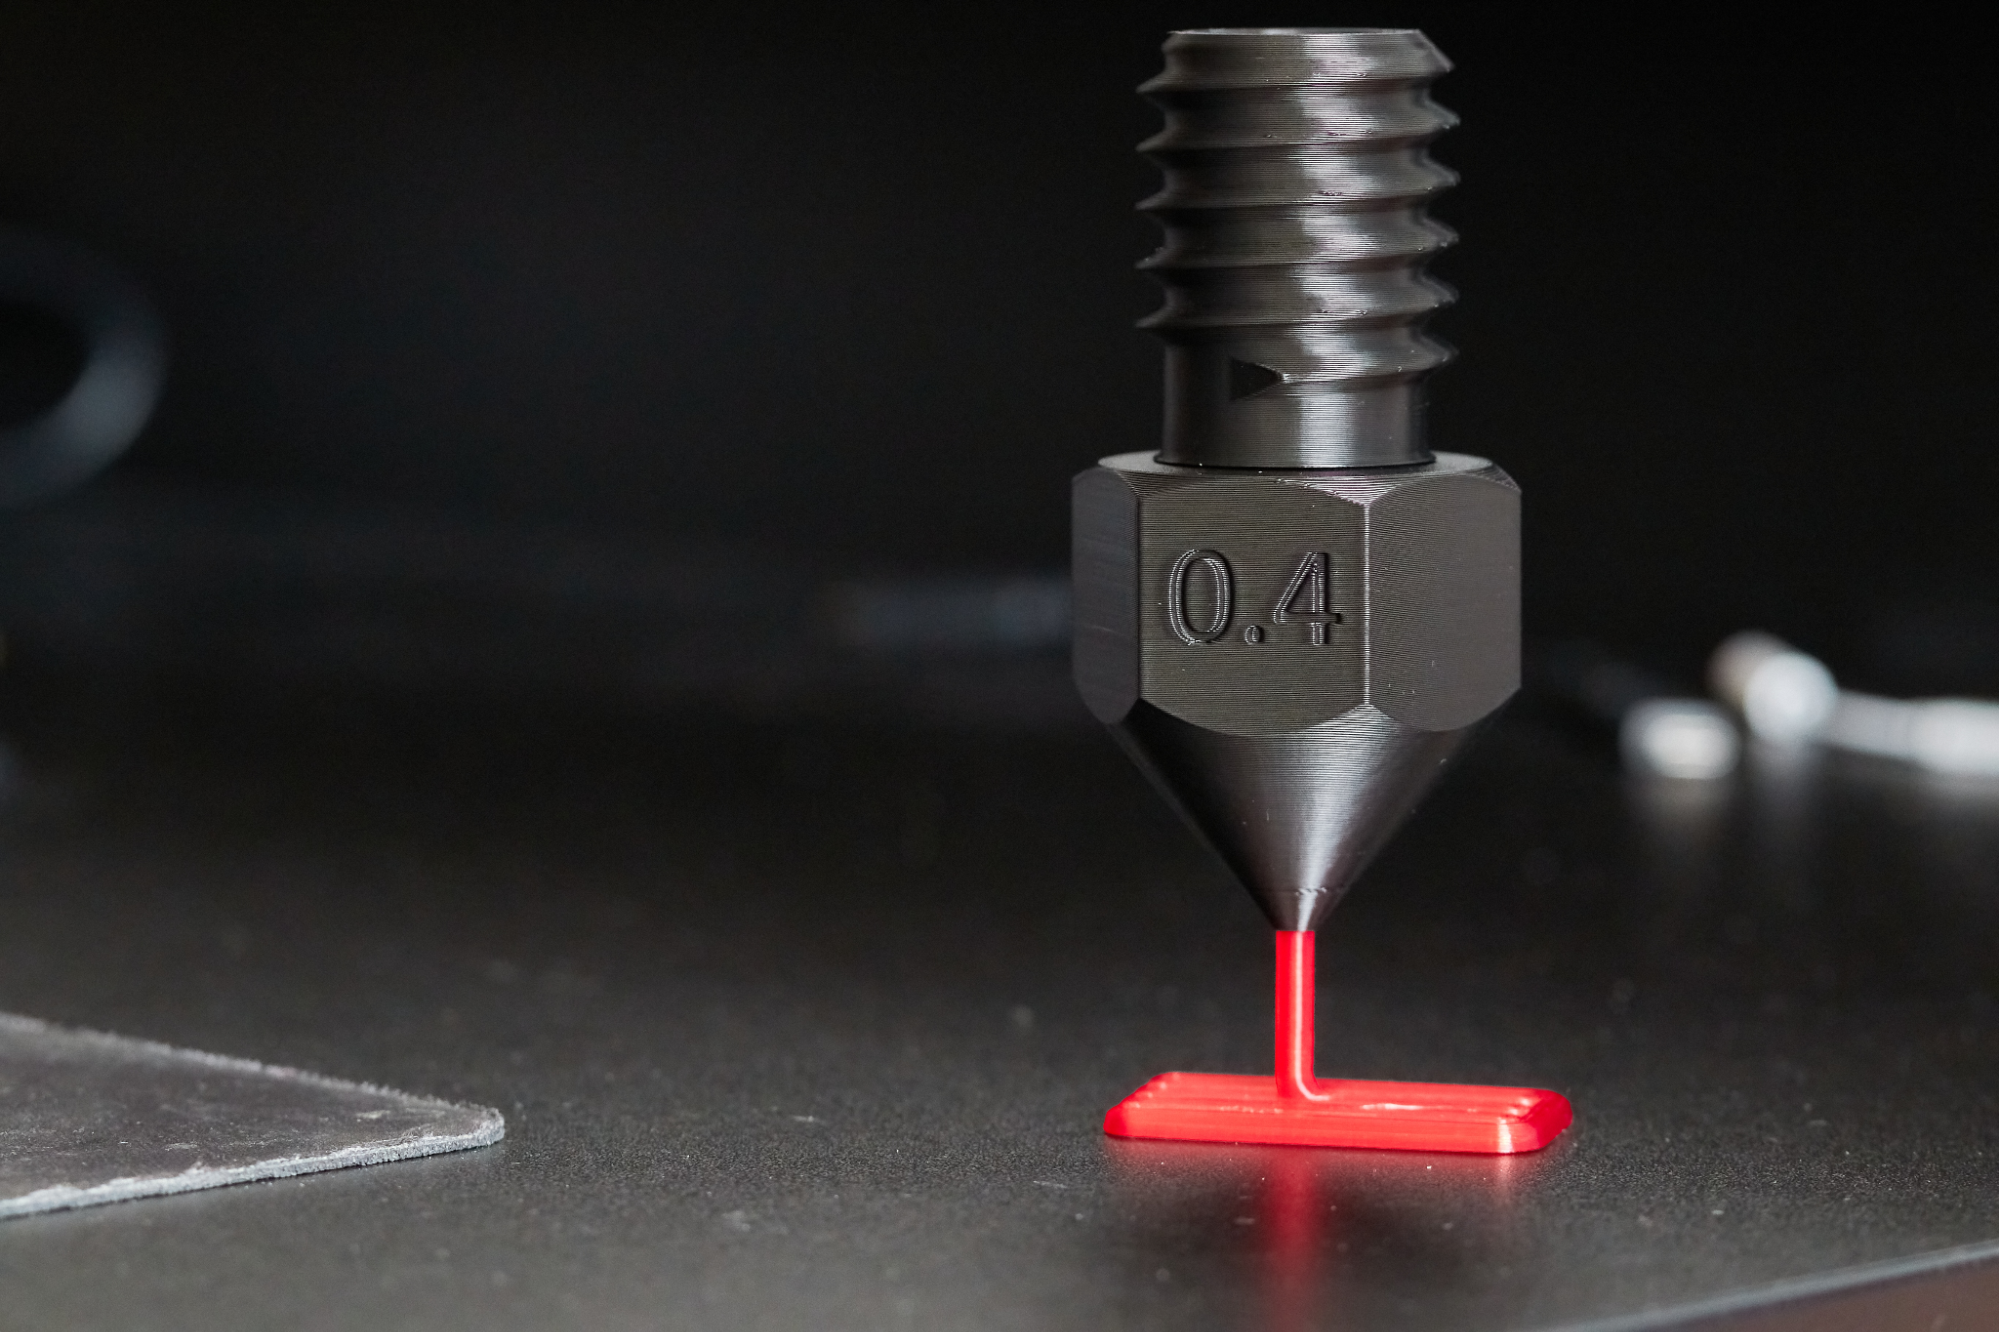
This value tells the printer the exact distance between the nozzle tip and the bed trigger point.
Too High: The filament falls onto the bed like a loose rope.
It has a round cross-section and barely touches the surface.
Too Low: The nozzle digs into the bed, or the filament becomes so squished it becomes transparent and ridges form (this is called “plowing”).
Just Right: The filament is slightly squished into a flat oval shape, maximizing surface area contact and better adhesion.
Pro Tip: Watch the skirt or brim of the print carefully.
If you can nudge the lines of plastic with your finger or a tool and they move, your nozzle is too high.
Lower the Z-offset in small increments (0.05 mm) until it sticks firmly.
Some 3D printers, especially from Bambu Lab, don’t allow changing the Z offset value.
If you still want to change it, you can do it using custom G-code but modifying custom G-code should be done carefully.
4. Cleanliness is Next to Godliness
Prusa Researchhttps://blog.prusa3d.com/top-6-tips-original-prusa-i3-3d-printer-maintenance_7830/
Finger oil is the enemy of adhesion.
Even if your hands look clean, the natural oils on your skin act as a release agent.
It’s almost unnoticeable and an underrated issue, but for those with buttery fingers, this can cause the prints to lift in the spot of their fingerprints.
So, you should clean it using the following methods.
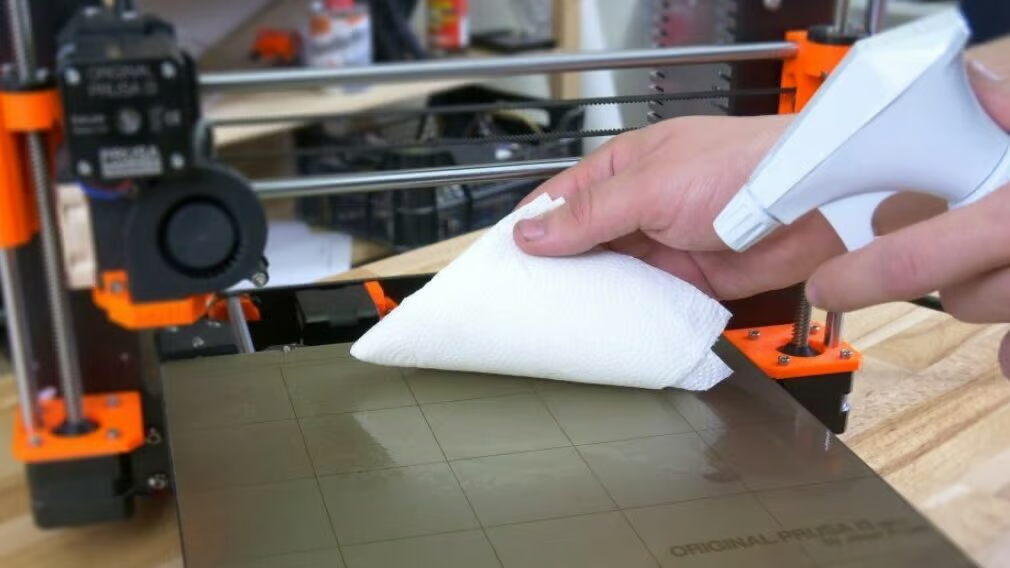
Isopropyl Alcohol (IPA): This should be a must-have in your 3D printing tool set.
Wipe your PEI sheet or glass bed with 90%+ IPA and a lint-free cloth before every print.
Soap and Water: Sometimes, IPA just smears the grease around.
Once a week, take your removable build plate to the sink.
Wash it with warm water and standard dish soap (like Vim or Dawn) to strip the oils.
Dry it with a fresh paper towel.
5. Increase print bed temperature
So if none of the methods above are working, then try increasing the print bed temperature in increments of 5.
For example, if you are using 55 degrees for the print bed temperature for PLA, then move it to 60.
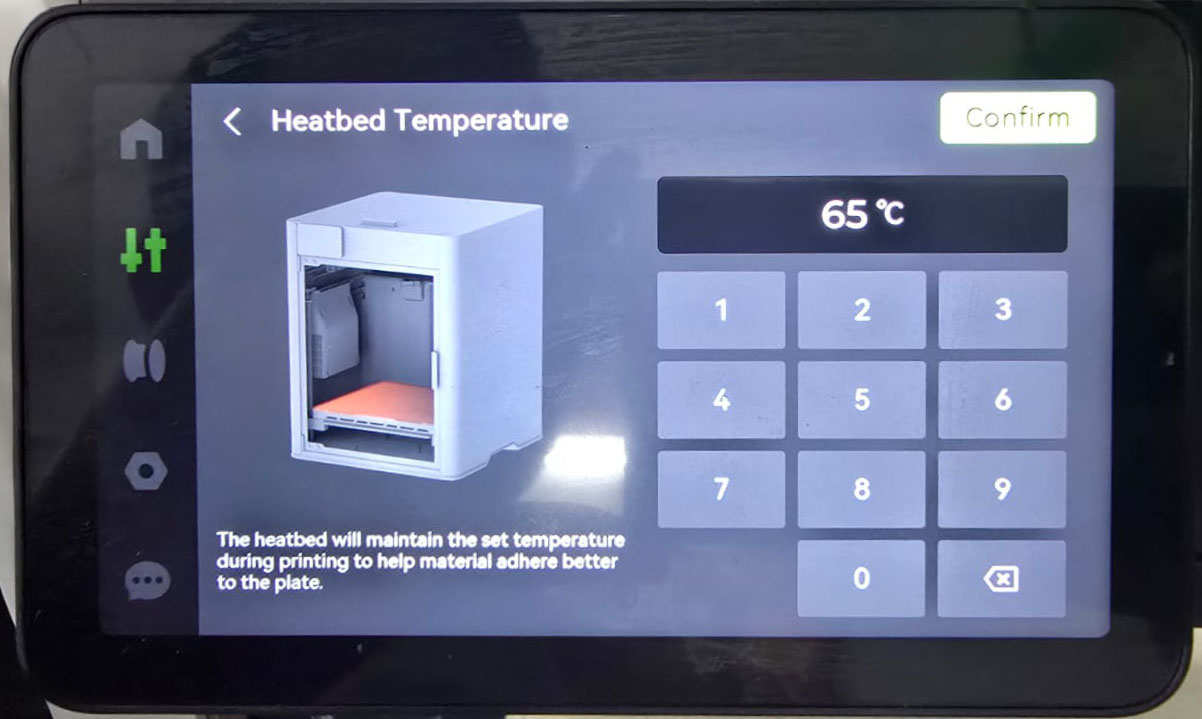
Try that, if it doesn’t work, move that to 65 and finally 70.
Don’t go beyond 70 because it’s simply not going to work if it’s not working for 65 or 70, in that case, the issue is probably something else.
Of course you should try different temperatures if you are printing with different materials like ABS.
In that case the range of temperatures should be different as per the material.
6. Dry the filament in a dryer
Filaments like PLA and TPU absorb a lot of moisture from the atmosphere, and when they absorb it, they become brittle.
They also end up becoming non-sticky, and they usually don’t stick properly to the print bed.
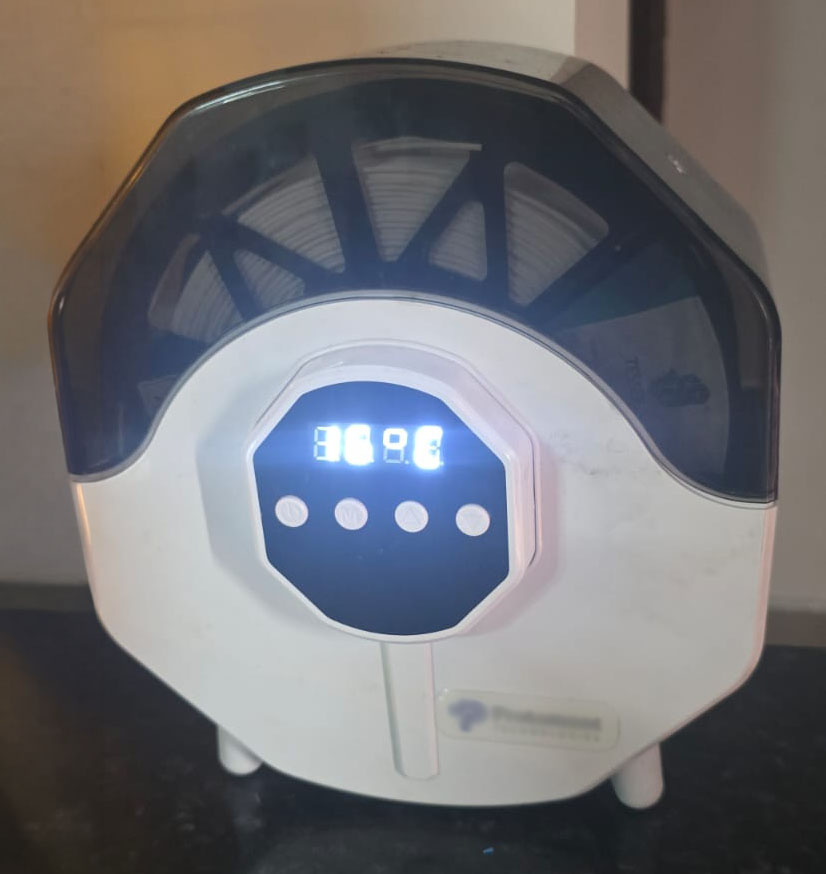
If you feel like your filament is very brittle or if you see a lot of fume coming out when printing, then probably you need to dry your filament.
For PLA you can dry it at 65 to 70°C for 8 to 12 hours and then print.
See the result; if it’s working great, if not, you can dry it for longer as well.
There are several 3D printer filament dryers available in the market. You can use any for this purpose, or you can use a DIY dryer as well.
I’ve seen people using their kitchen dryers as well.
Not sure if that’s a good idea, but if you are not cooking in it, then maybe you can try it.
7. Use Adhesives
Sometimes, the physics of cooling plastic just beats us, and we need chemical help.
This is especially true for materials prone to warping like ABS or ASA.
Choose Your Glue
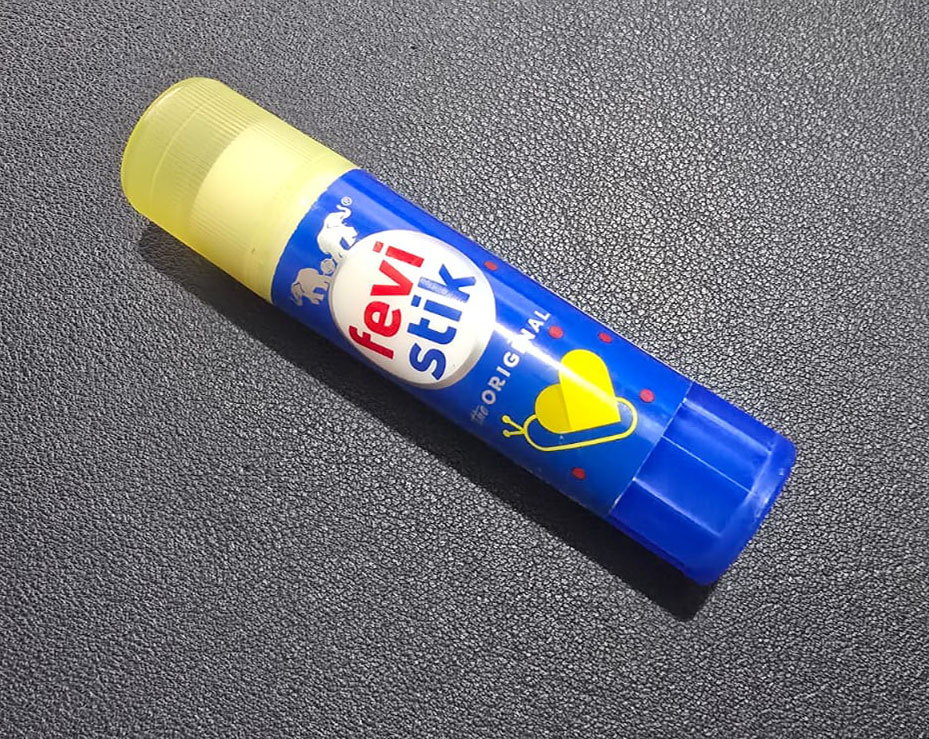
Adhesive Type | Best For | SourceCAD’s Take |
PVA Glue Stick | PLA, PETG, Nylon | The classic reliable choice. Handy for glass beds to help release prints later too! |
Hairspray | PLA, ABS | Old school but effective. Look for “Extra Strong Hold” (Aqua Net is the legend here). |
Magigoo / Nano Polymer | High-temp materials | Super strong performance for engineering filaments. |
Textured PEI Sheet | PLA, PETG | Amazing adhesion when hot, self-releasing when cold. No messy glue needed! |
8. Use Brim, Raft or Mouse Ears
If hardware fixes aren’t working, it’s time to look at your software again.
Your slicer has powerful tools to increase the physical footprint of your print.
1. Brim
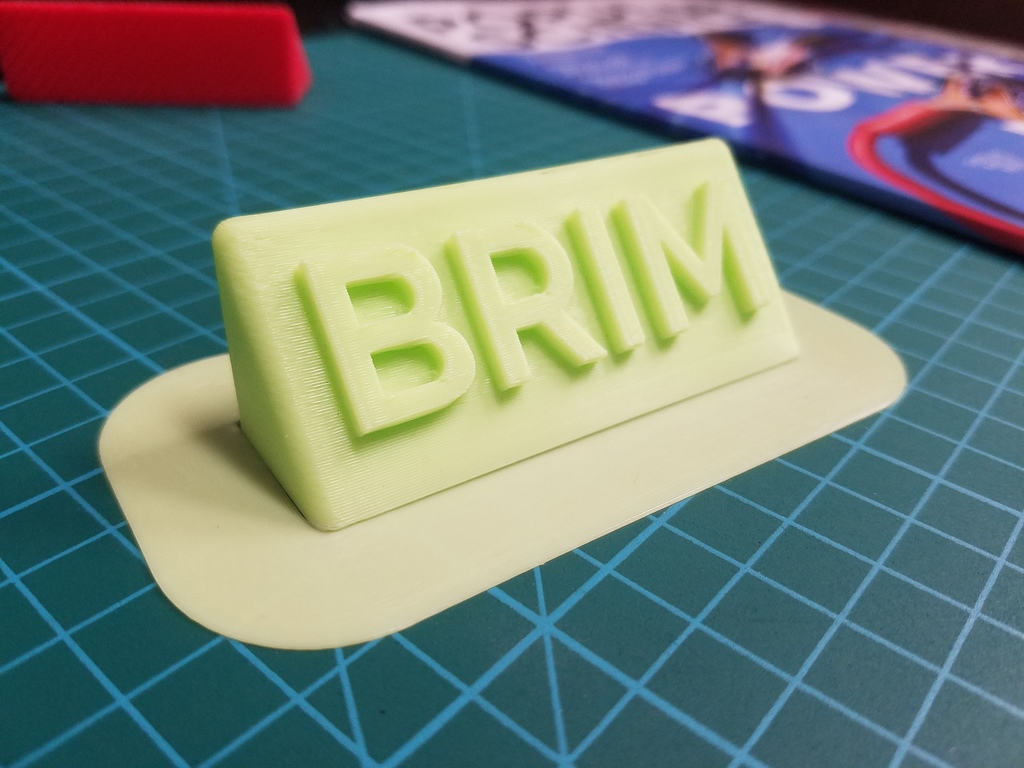
UTA_FabLab via Thingiversehttps://www.thingiverse.com/thing:2723623
A brim adds a single layer of material attached to the perimeter of your model.
It acts like the wide roots of a tree, holding the model down.
You should use this option when printing tall, thin objects or models with small footprints.
Once the printing is finished, use an Exacto knife or a deburring tool to remove the brim off the edges of your 3D prints.
2. Raft
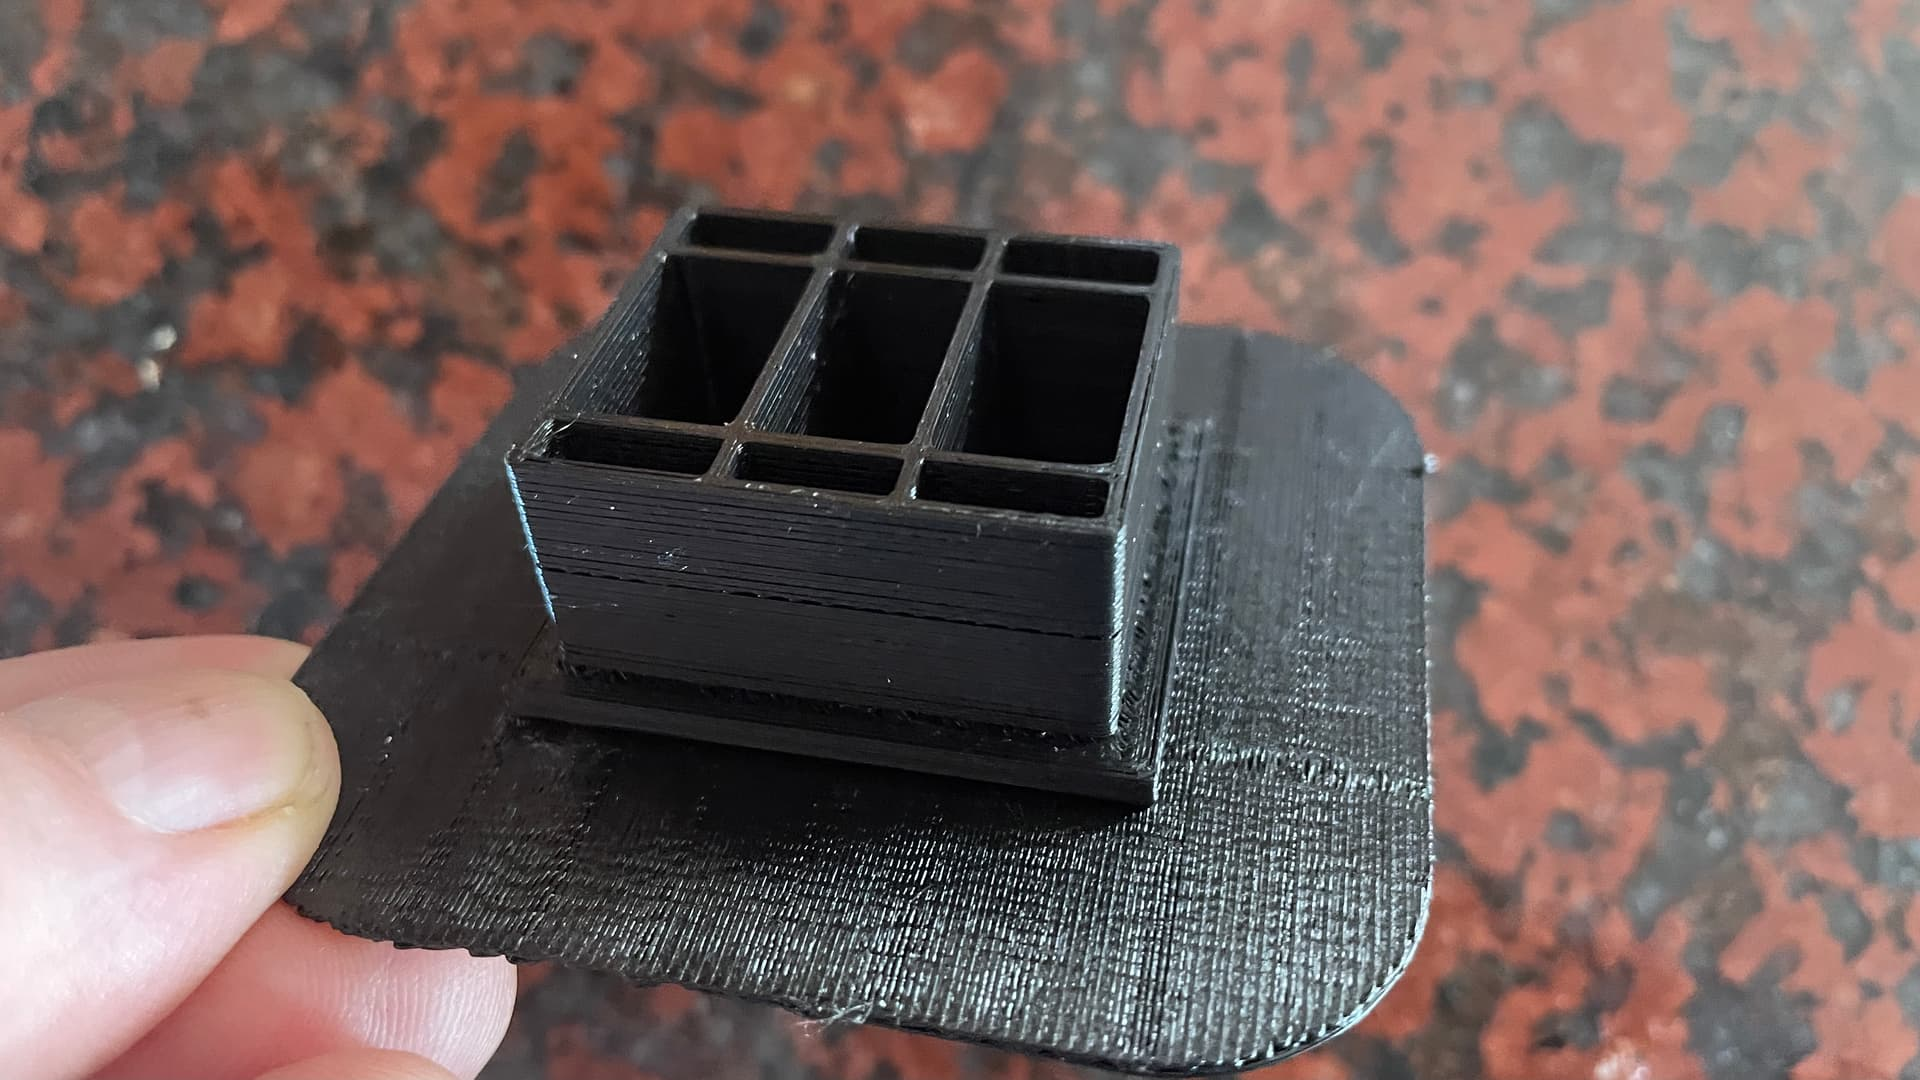
Neo via Unix Linux Community https://community.unix.com/t/day-24-adventures-in-3d-printing-for-beginners-rafts-brims-skirts/383997
A raft prints a thick grid on the bed first and then prints your models on top of that grid.
Think of it like a first layer, before the actual first layer.
Using a raft makes sense when your print bed is severely uneven (warped) or you are struggling with a very difficult filament.
The downside, however, is a raft leaves a rough surface finish on the bottom of your prints and wastes considerable amounts of material and print time.
3. Mouse Ears
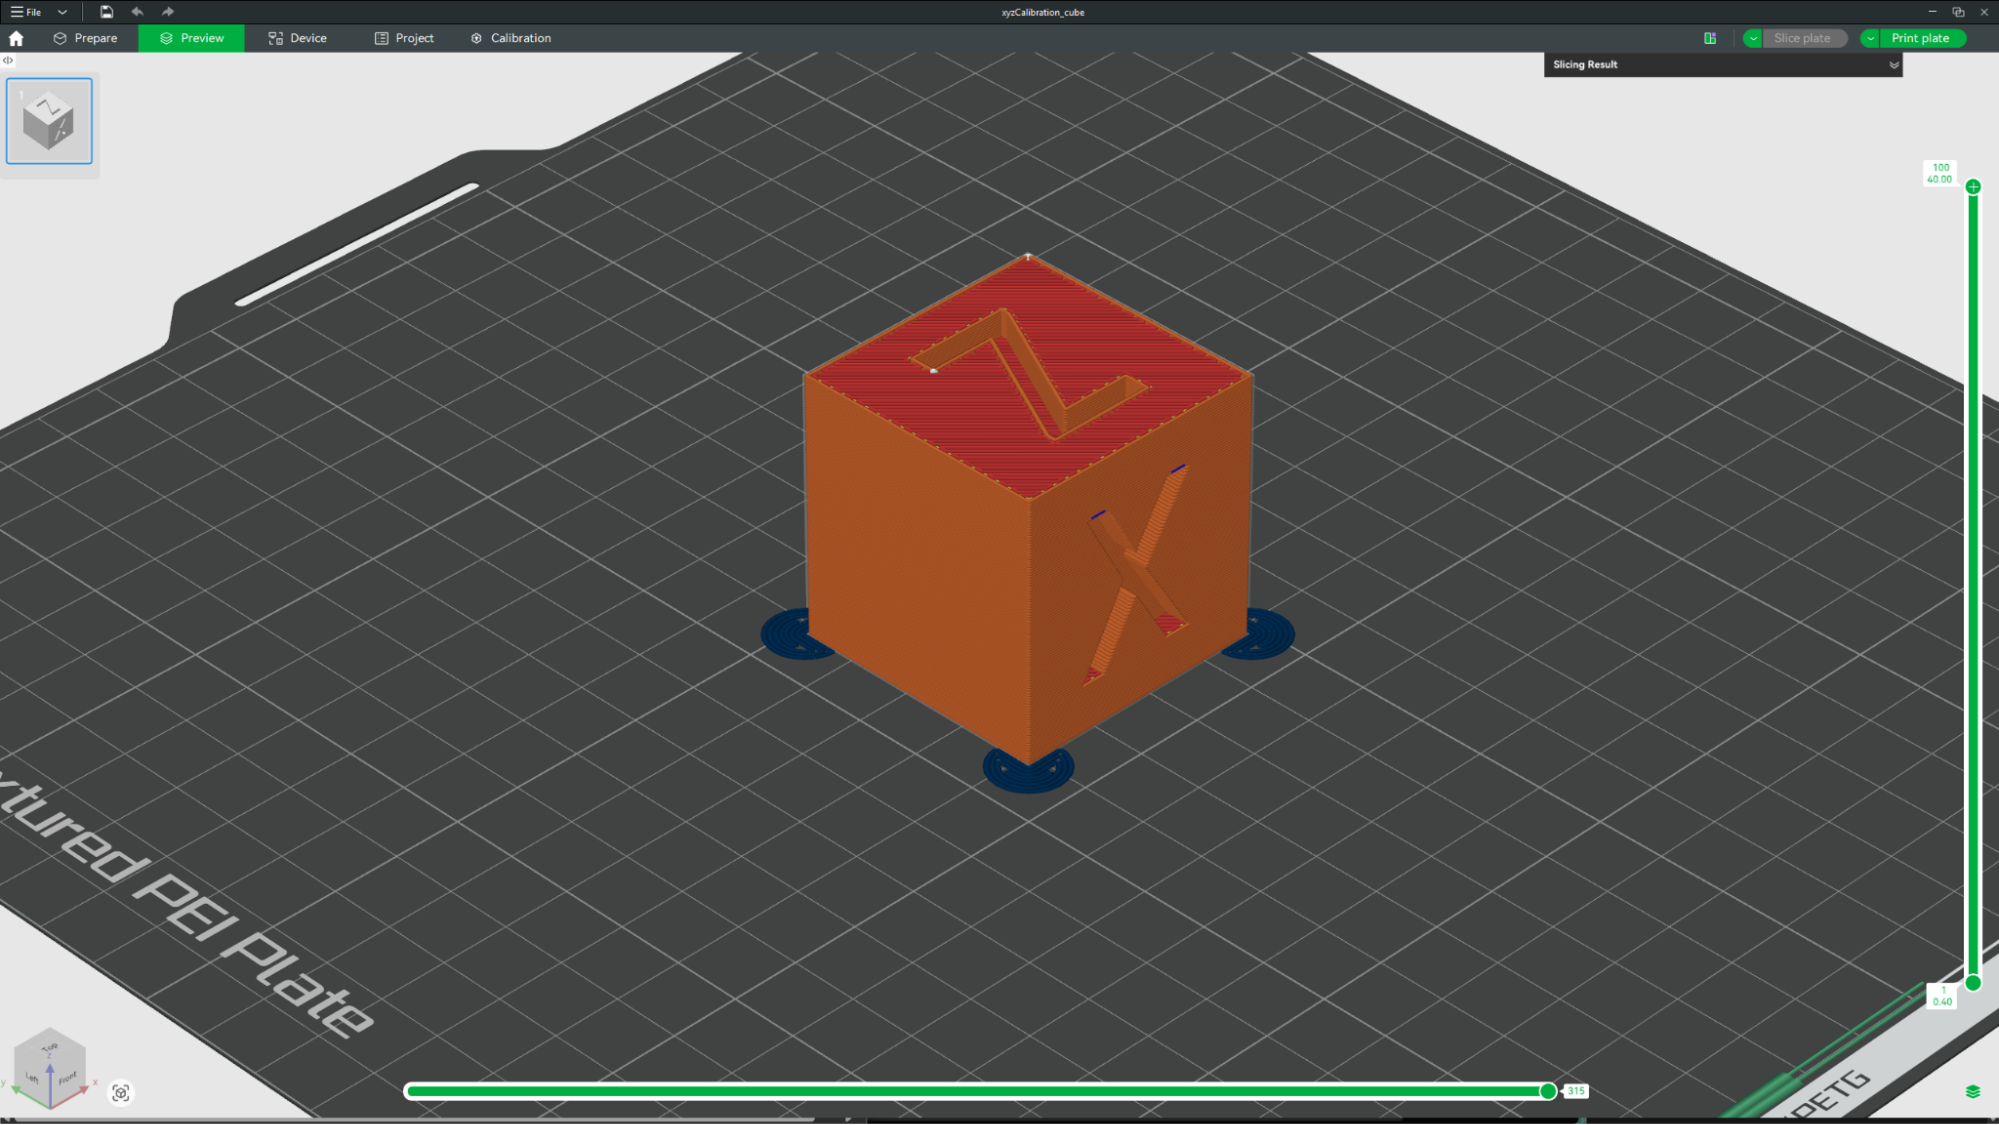
Not a lot of people use this, although many should!
In your CAD software (like Fusion 360 or SolidWorks), add thin, circular discs (0.2 mm thick) to the sharp corners of your model.
These “mouse ears” prevent the corners from lifting (warping) and can be easily trimmed off later with flush cutters.
Alternatively, certain slicing software like the Bambu Lab Studio and OrcaSlicer allow you to add the mouse ears in the slicing stage as well.
9. Change your part’s print orientation
We usually use Bamboo Lab X1 Carbon and Bamboo Lab H2D for printing our parts.
There was an order from a client which we started printing, assuming that it’s a very easy part but no matter what we tried, the print kept failing.
We tried everything that we have mentioned in this article.
We tried several different machines, not just Bamboo Lab but also from Flashforge. It did not work.
It was very strange for us because no matter how high the bed temperature we did, how clean the surface plate is, it still failed.
It not only failed on one machine but it failed on all the machines.
We also tried drying the filament, which did not work.
Finally what we realised is an imperfection with the part itself.
The base of the part had little bumps; for that reason it was not sticking properly on the print bed.
What we did was we simply made the base of the part that touches the build plate completely flat, and the print went through flawlessly.
So, lesson learned…
Sometimes none of these things might work.
All you need to do is just make sure that your actual part is properly touching the the build plate in your slicer software.
Troubleshooting some common Bed Adhesion Issues
Here are some of the very common print bed adhesion issues and how you can fix them very quickly.
Issue: The corners are curling up (warping).
It is often caused by uneven cooling. Avoid drafts! Turn off your ceiling fan or AC.
If printing ABS, you need an enclosure. Try adding a Brim.
Issue: The print pops off halfway through.
Check your bed temperature.
For PLA, keep it around 60°C. For PETG, try 70-80°C, and for ABS, even higher at 100-110°C.
If the bed cools down, the plastic shrinks and pops off.
Issue: The first layer looks rough/rippled.
Your nozzle is too close to the bed surface and is scraping it.
Raise your Z-offset in small increments till you get just the right amount of squish.
Issue: Elephant’s Foot (Bottom layers are wider).
The bed temperature might be too high, causing the filament to remain soft after lying on the bed.
Or the nozzle is slightly too close. Tune in your bed temperature and the Z-offset distance.
Summary
It’s mesmerizing to see a beautifully laid out, perfect first layer.
It gives you the confidence you’re in for a successful print without any popping or warping issues.
And even if you get a failed print, don’t be discouraged by it.
Clean your bed, slow down that first layer speed, and try again.
If that doesn’t work, use brims, tune in your print temperatures, and try other methods mentioned in this article.
The beauty of a sturdy first layer and the prize of a successful 3D print are worth the effort!