Revit Commands and Shortcuts
This list of 100 Revit commands and keyboard shortcuts is designed to help you become more proficient with Revit by focusing on the keyboard shortcuts and…
This list of 100 Revit commands and keyboard shortcuts is designed to help you become more proficient with Revit by focusing on the keyboard shortcuts and commands that can significantly boost your workflow.
Whether you’re working on Revit Architecture, Revit Structure, or Revit MEP, knowing these shortcuts will save you time and help you focus on the important aspects of your projects.
This entire list is divided into 4 sections:
Revit General Keyboard Commands and Shortcuts:
These are the essential commands that apply to all Revit disciplines, making it easier to navigate and manage your projects.
Revit Architecture Commands:
Specifically for architects, these commands will help you create and modify architectural elements more efficiently.
Revit Structure Commands:
For structural engineers, these shortcuts will simplify the modelling of structural components, ensuring your designs are both accurate and efficient.
Revit Mechanical, Electrical, and Plumbing (MEP) Commands:
MEP professionals will find these commands invaluable for designing complex systems within buildings, seamlessly integrating mechanical, electrical, and plumbing elements.
By the end of this guide, you’ll have a solid grasp of the most important Revit commands and how to use them in your projects.
Revit General Keyboard Commands Shortcuts:
These commands are common throughout Revit architecture, structure, and MEP.
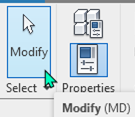
1. Modify (MD)
You can use this shortcut to enter selection mode and select elements for modification.
Activate the tool and click on the elements you want to modify.
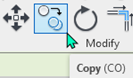
2. Copy (CO)
This command allows you to copy selected elements within your project.
After activating the tool, click to place the copied elements in the desired location.
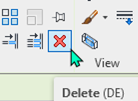
3. Delete (DE)
With this shortcut, you can quickly remove selected elements from your building model.
Activate the tool and click on the elements you want to delete.
4. Mirror (MM) or (DM)
Use this command to create mirrored copies of selected elements either by picking an axis (MM) or by drawing a temporary line that will act as the axis for mirroring (DM).
After activating the tool, specify the mirror axis and click to place the mirrored elements.

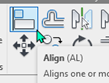
5. Align (AL)
You can use this command to align one or more elements with a selected element.
After activating the tool, select the elements you want to align, and then select the reference element.
6. Array (AR)
With this command, you can create a linear or radial array of selected elements.
After activating the tool, specify the array parameters, such as spacing and quantity’

7. Rotate (RO)
Use this shortcut to rotate selected elements around an axis.
After activating the tool, specify the rotation angle and axis, then click to apply the rotation.

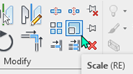
8. Scale (RE)
This command allows you to resize selected elements uniformly.
After activating the tool, specify the scale factor and click to resize the elements.
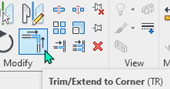
9. Trim/Extend to Corner (TR)
You can use this command to trim or extend one or more elements to form a corner.
After activating the tool, select the elements you want to modify, and then click to trim or extend.
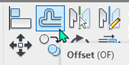
10. Offset (OF)
With this shortcut, you can move selected model lines, detail lines, walls, or beams a specified distance perpendicular to their length.
After activating the tool, specify the offset distance and direction.
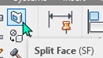
11. Split Face (SF)
Use this command to divide the face of an element into regions for the application of different materials.
After activating the tool, select the face to split and define the splitting lines.
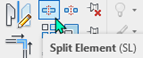
12. Split Element (SL)
This command cuts an element, such as a wall or line, at a selected point.
After activating the tool, select the element to split and then specify the splitting point.
13. Print: (Ctrl + P)
Opens the print dialog box, allowing you to configure and print the current view or sheets in the Revit project.
Modify Shortcuts
These shortcuts are required for making modifications in the drawing.
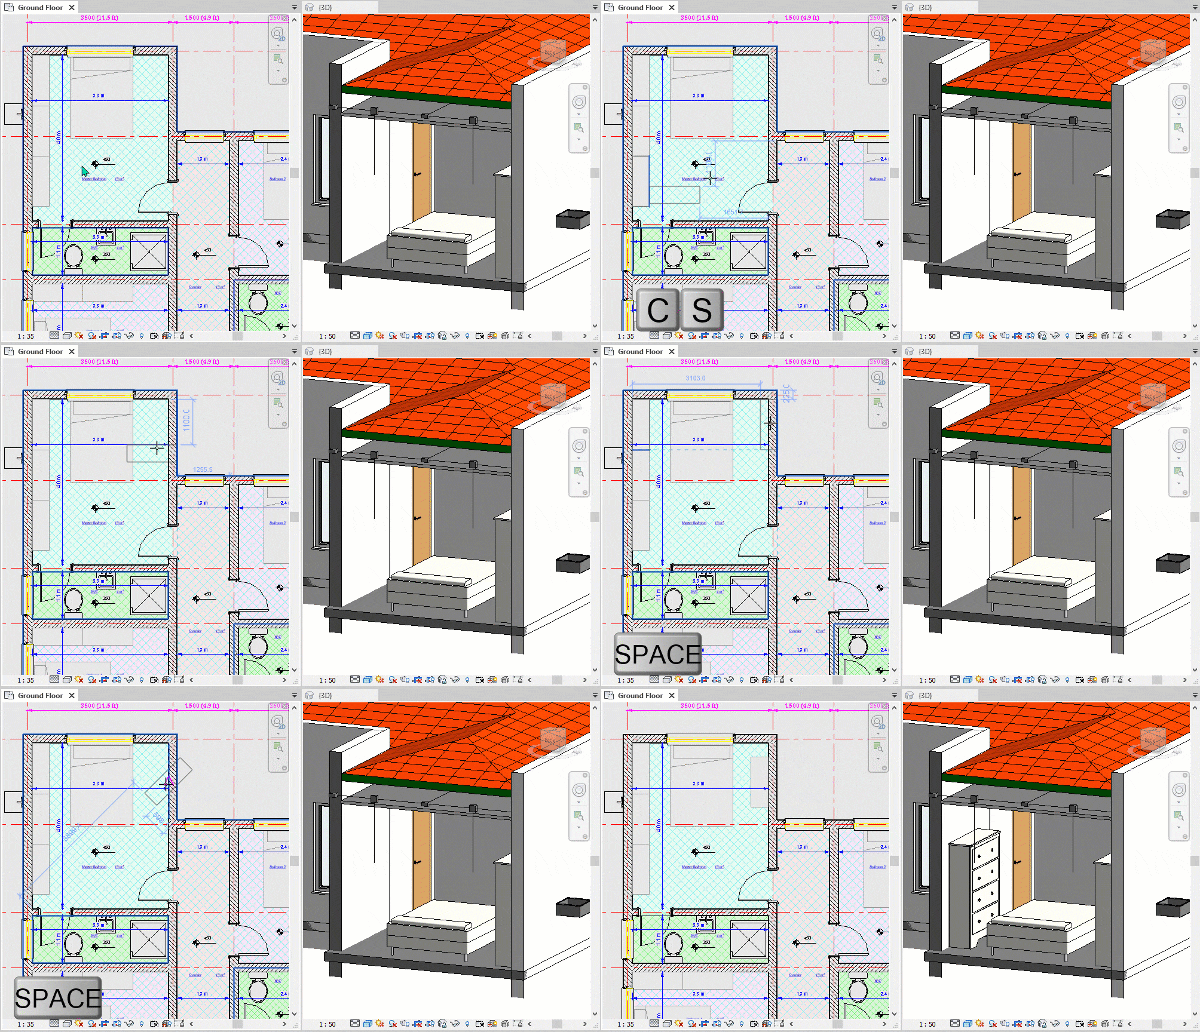
14. Create Similar (CS):
Creates an element of the same type as the selected element, streamlining the creation process for similar components.
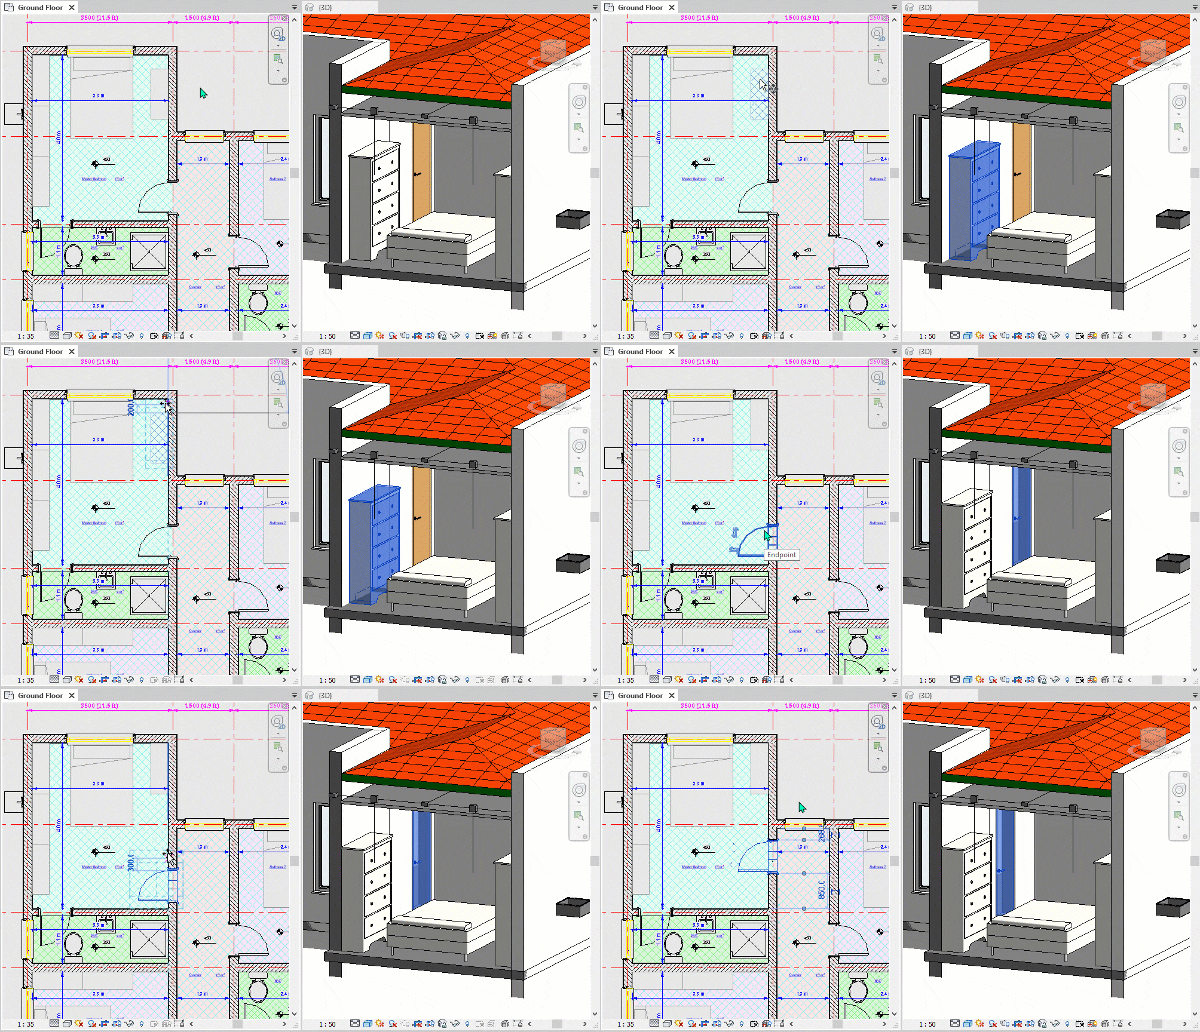
15. Move (MV):
Moves selected elements to a new location within the project, allowing repositioning or rearrangement of components.
16. Pin (PN):
Locks a model element in place, preventing unintentional movement or modification.
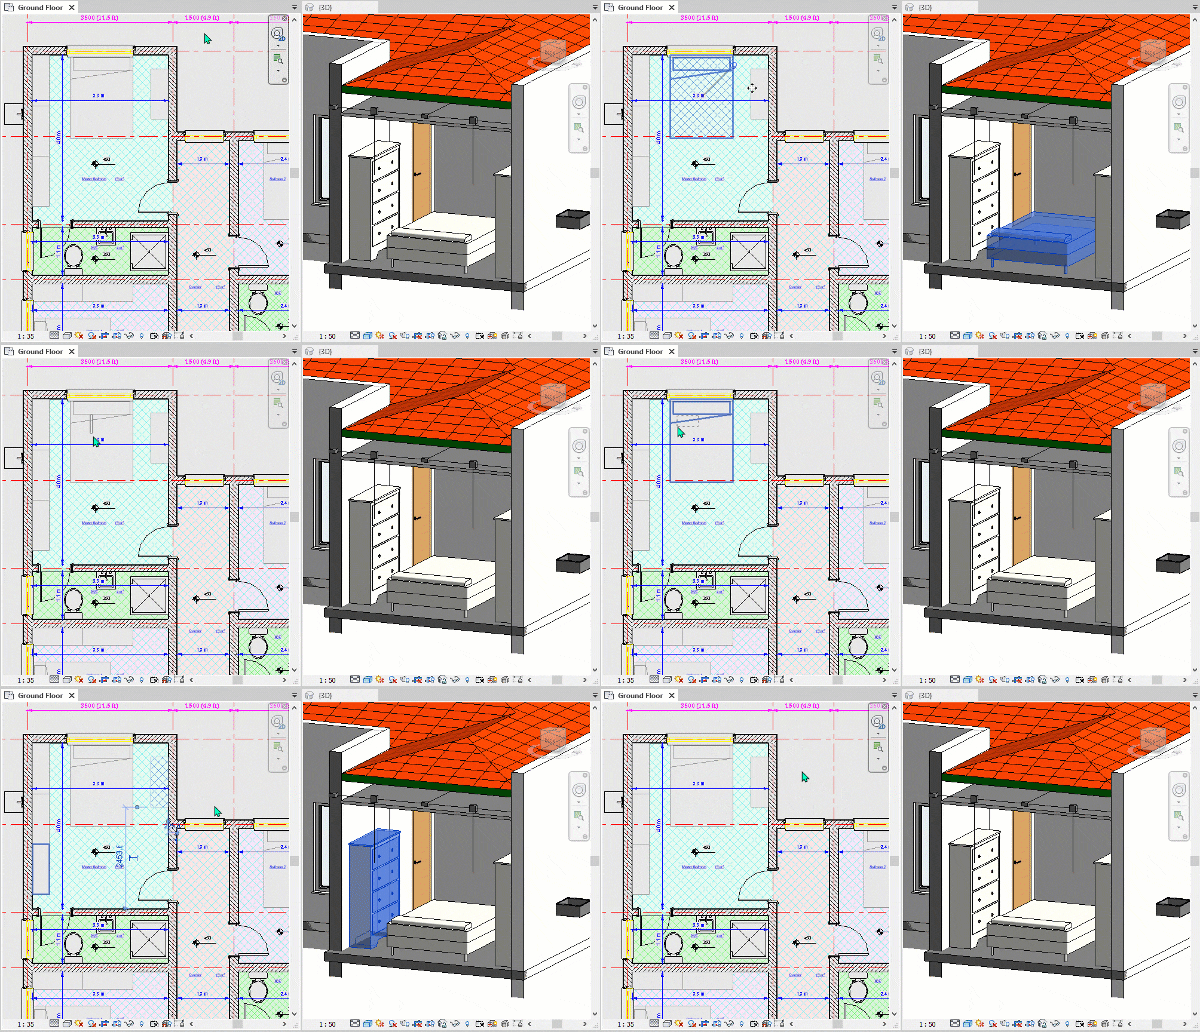
17. Unpin (UP):
Unpins an element that is locked in position or driven by its host system, allowing freedom of movement or modification.
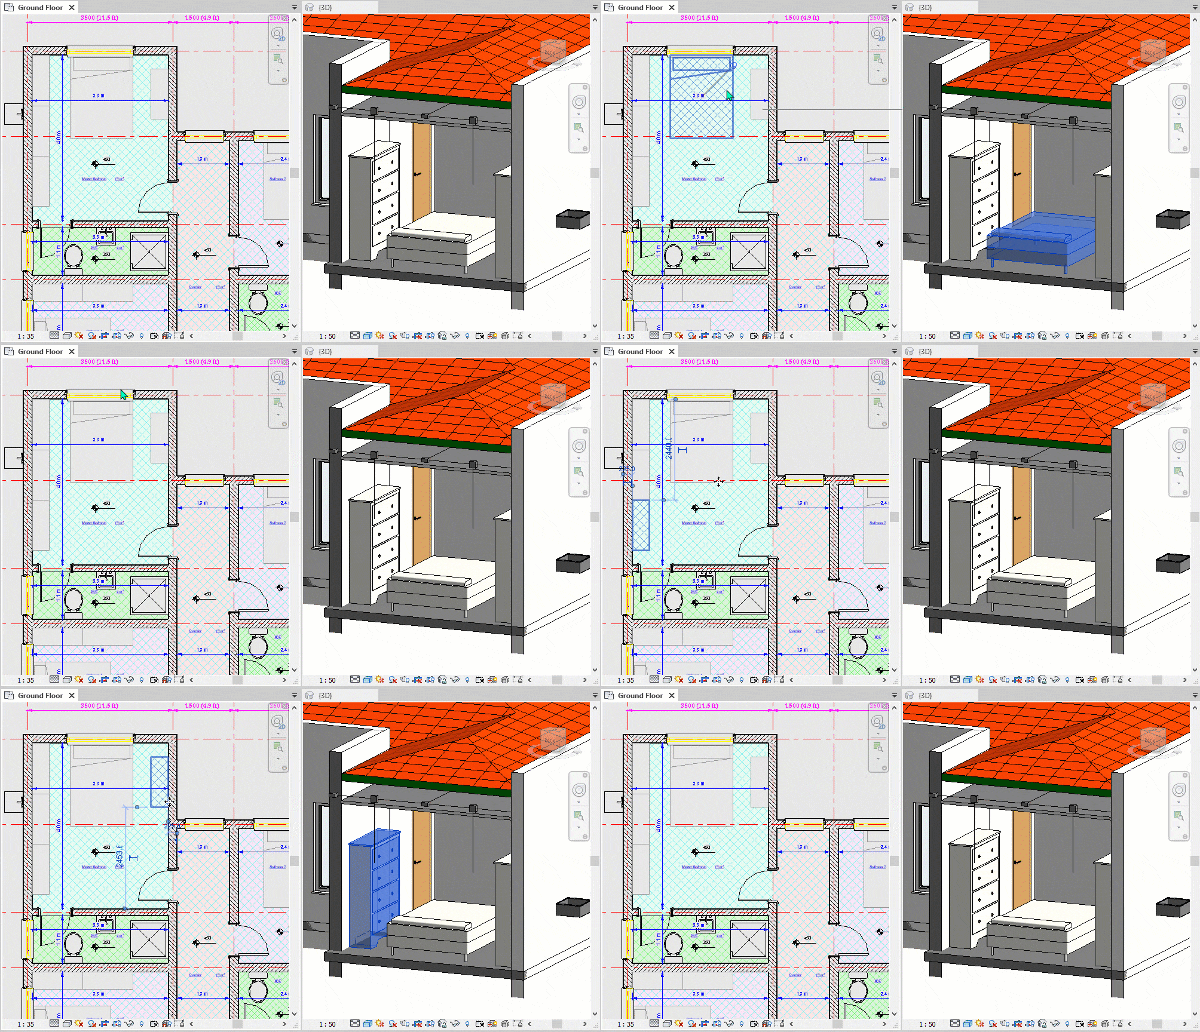
Snaps Shortcuts:
These shortcuts are related to making precise selections in the drawing.
18. Snap-to-Point Clouds (PC):
Snaps to points within a point cloud, enabling accurate placement or alignment of elements.
19. Centers (SC):
Snaps to the center of elements or reference points, facilitating precise positioning or alignment.
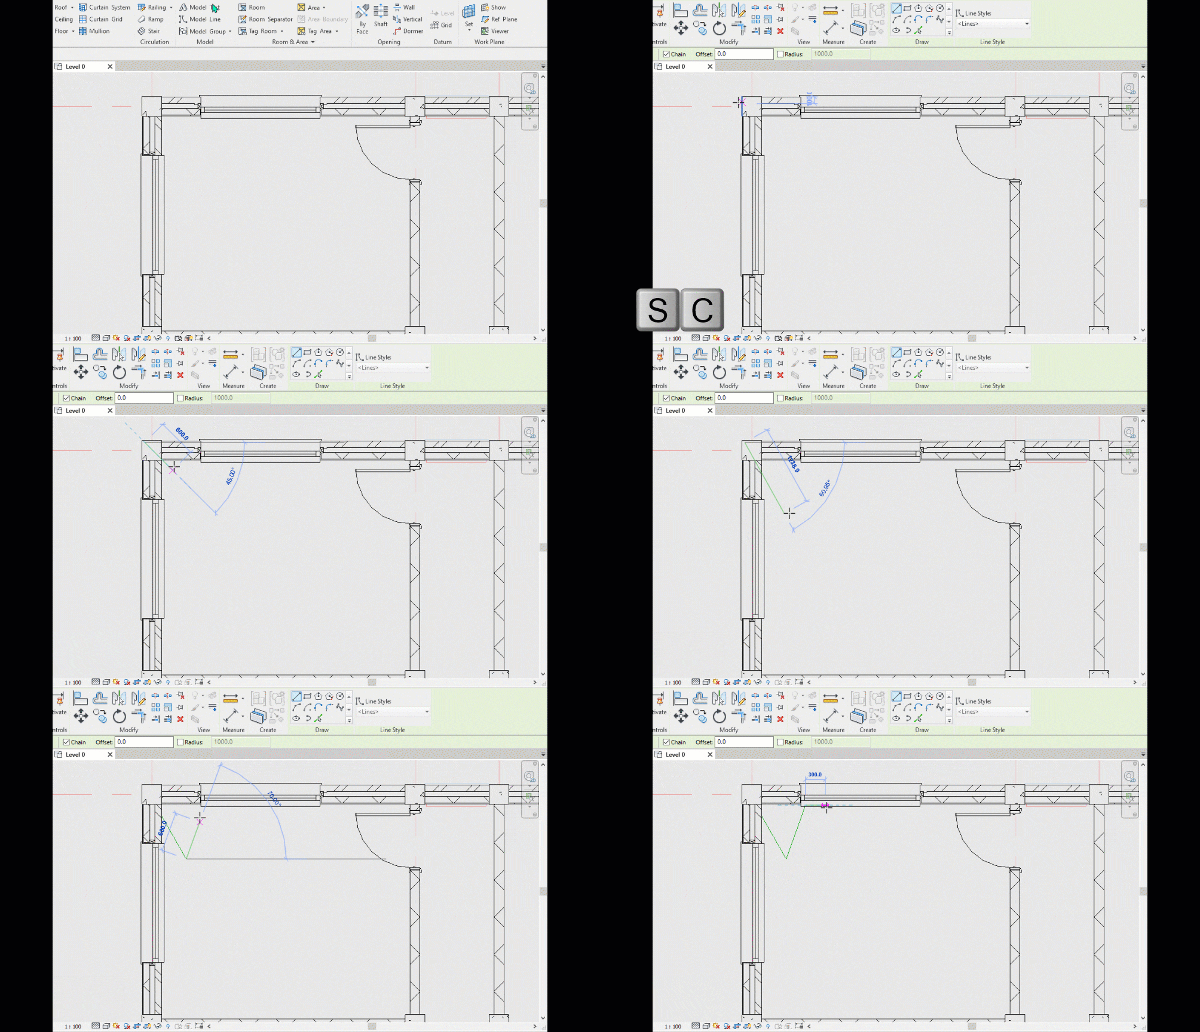
20. Endpoints (SE):
Snaps to the endpoints of lines or edges, enabling accurate connections or alignments.

21. Intersections (SI):
Snaps to intersections of lines or surfaces, facilitating precise geometry creation or modification.
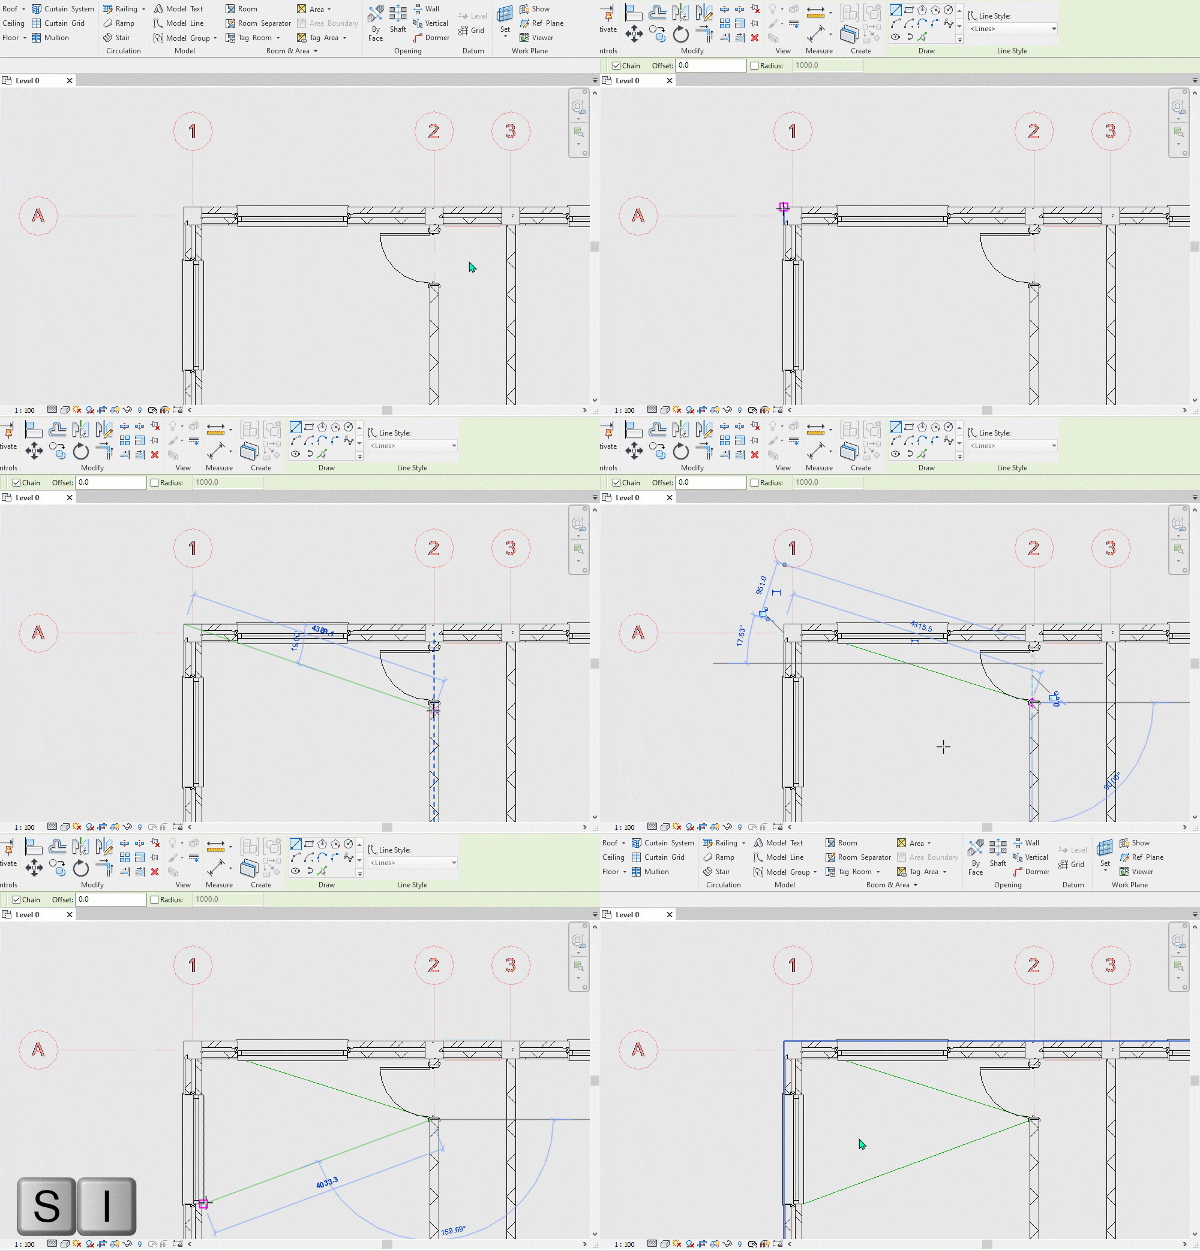
22. Midpoints (SM):
Snaps to midpoints of lines or edges, enabling accurate placement or alignment.
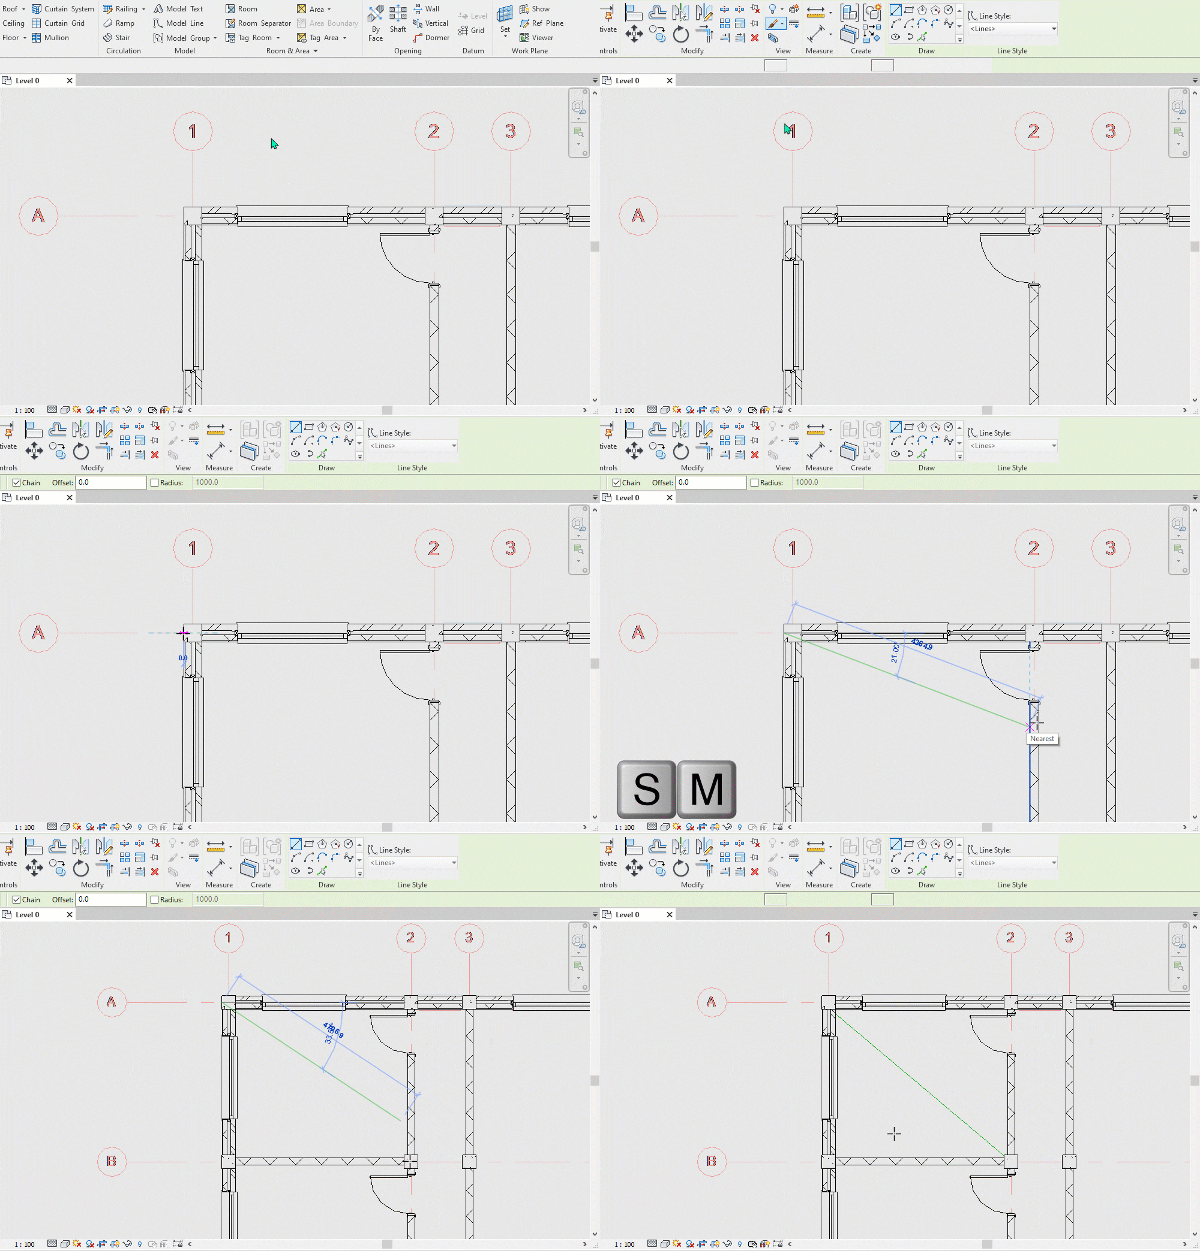
23. Nearest (SN):
Snaps to the nearest point or element, facilitating quick and accurate positioning or alignment.
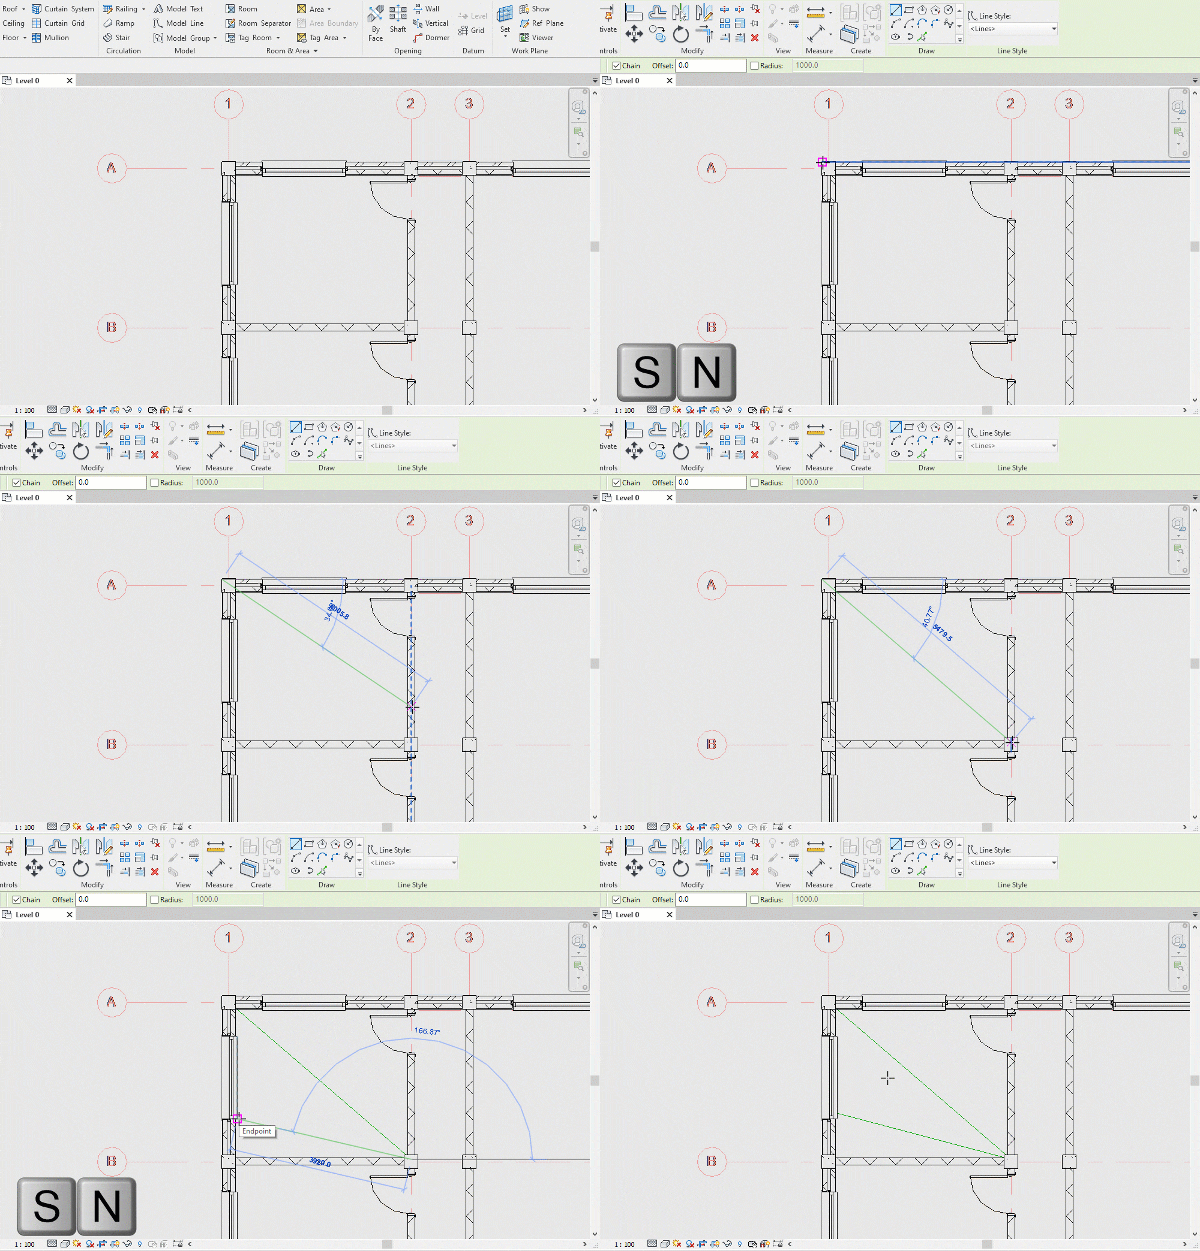
24. Snap Off (SO):
Turns off snap functionality, allowing free movement or placement without snapping.

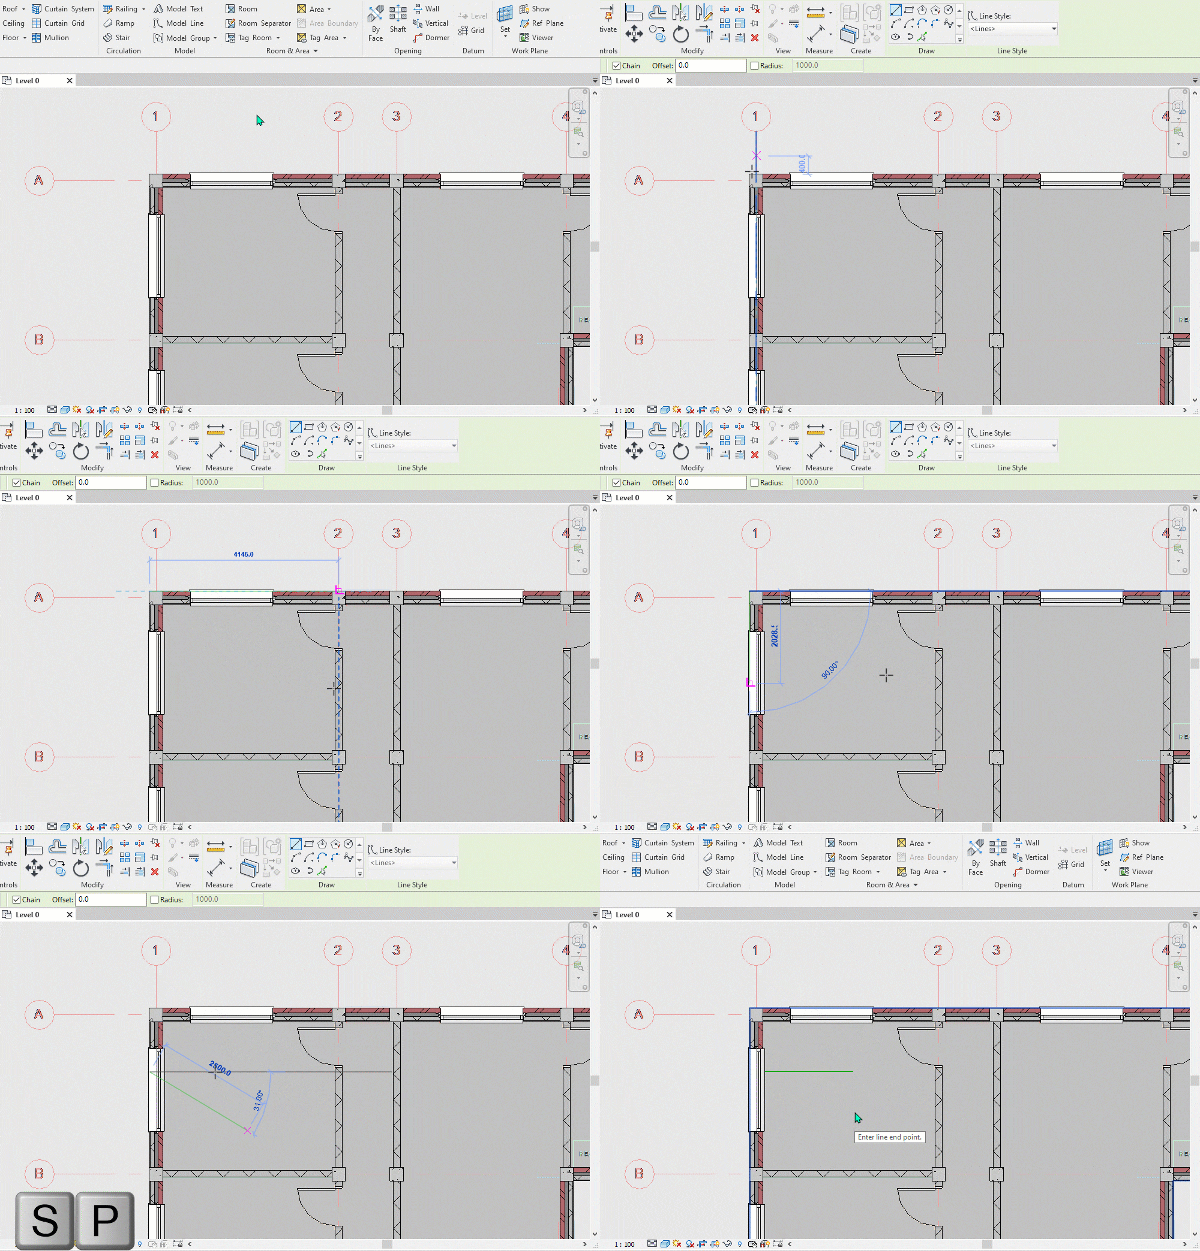
25. Perpendicular (SP):
Snaps to perpendicular positions or alignments, facilitating orthogonal or tangent relationships.
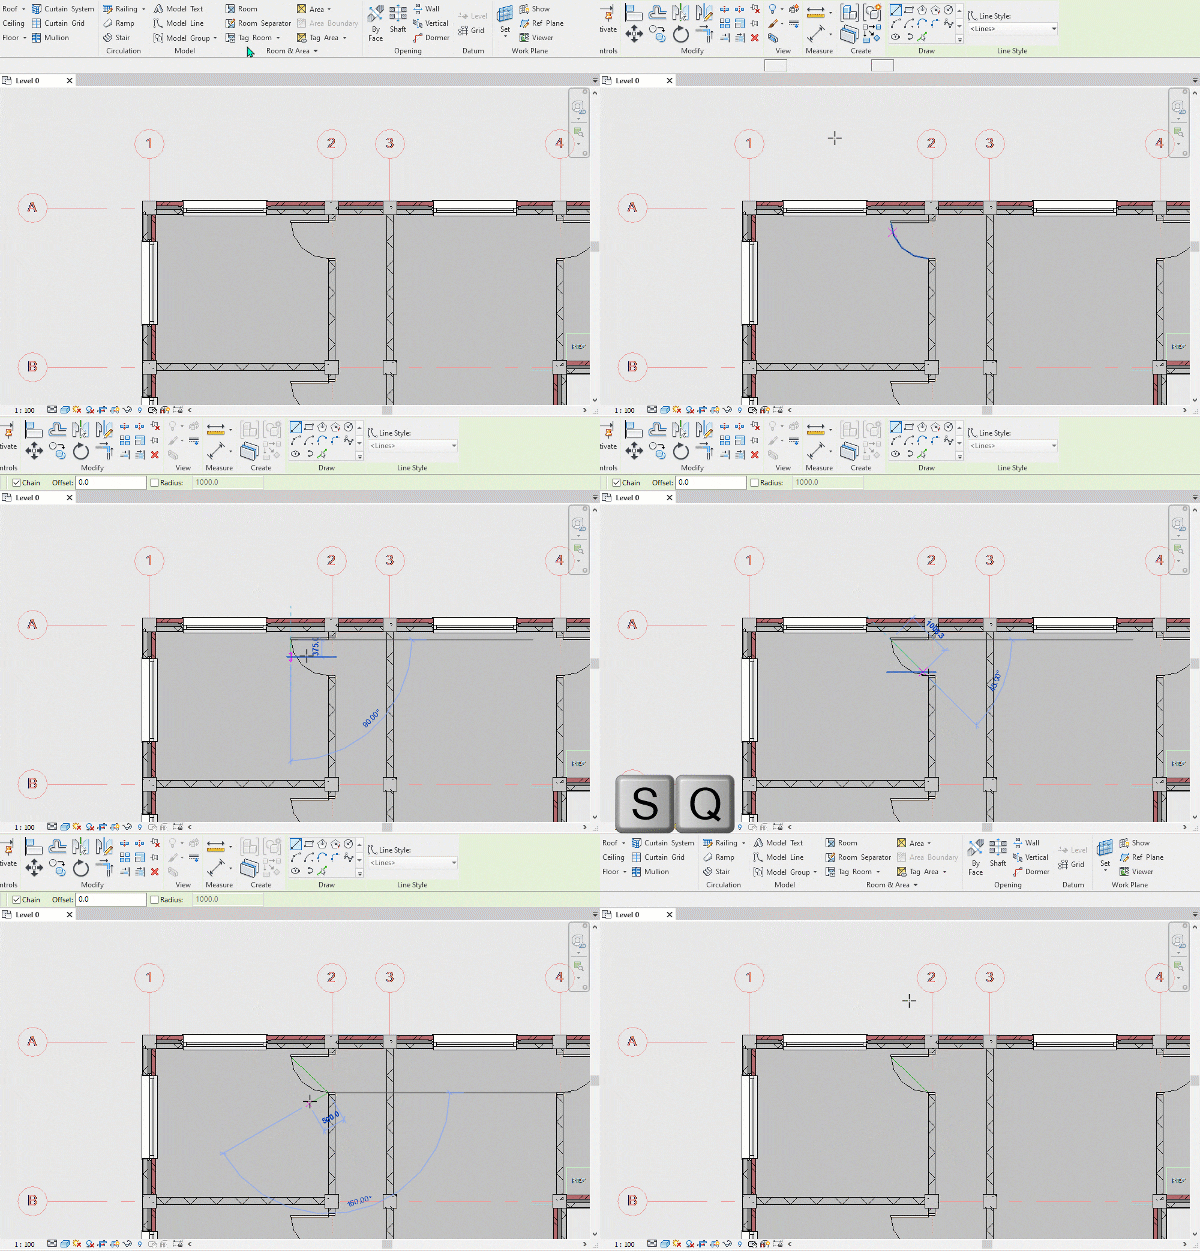
26. Quadrants (SQ):
Snaps to quadrant points of circles or arcs, enabling precise positioning or alignment.
27. Snap to Remote Objects (SR):
Snaps to objects that are not near the element, facilitating precise positioning or alignment of distant elements.
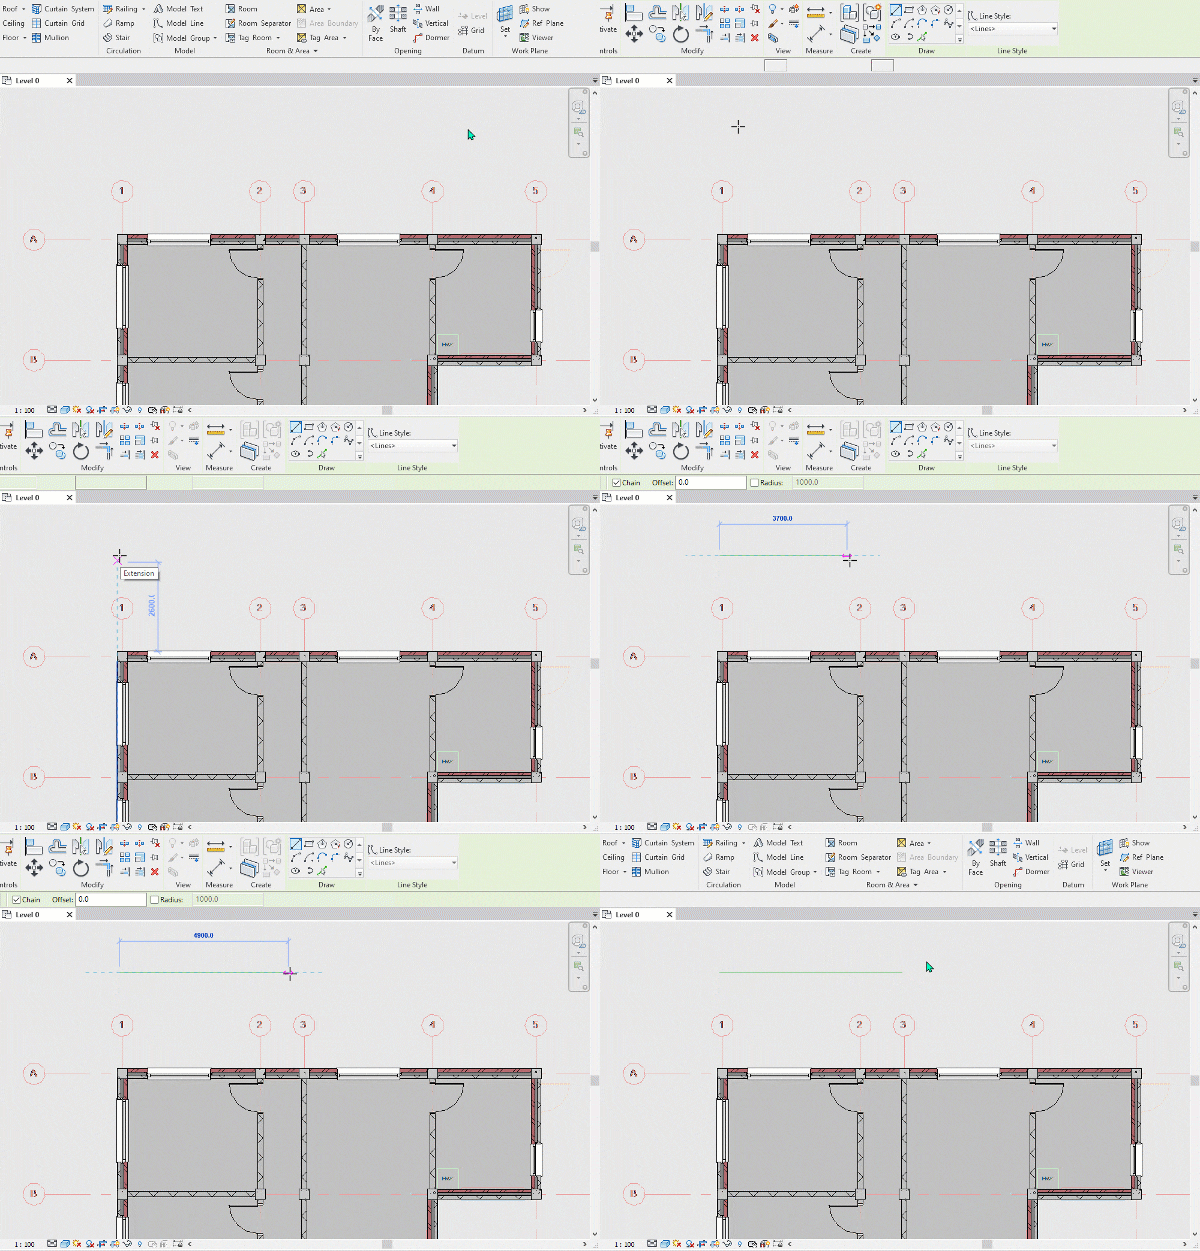
28. Tangents (ST):
Snaps to tangent points or alignments, facilitating smooth transitions or connections.
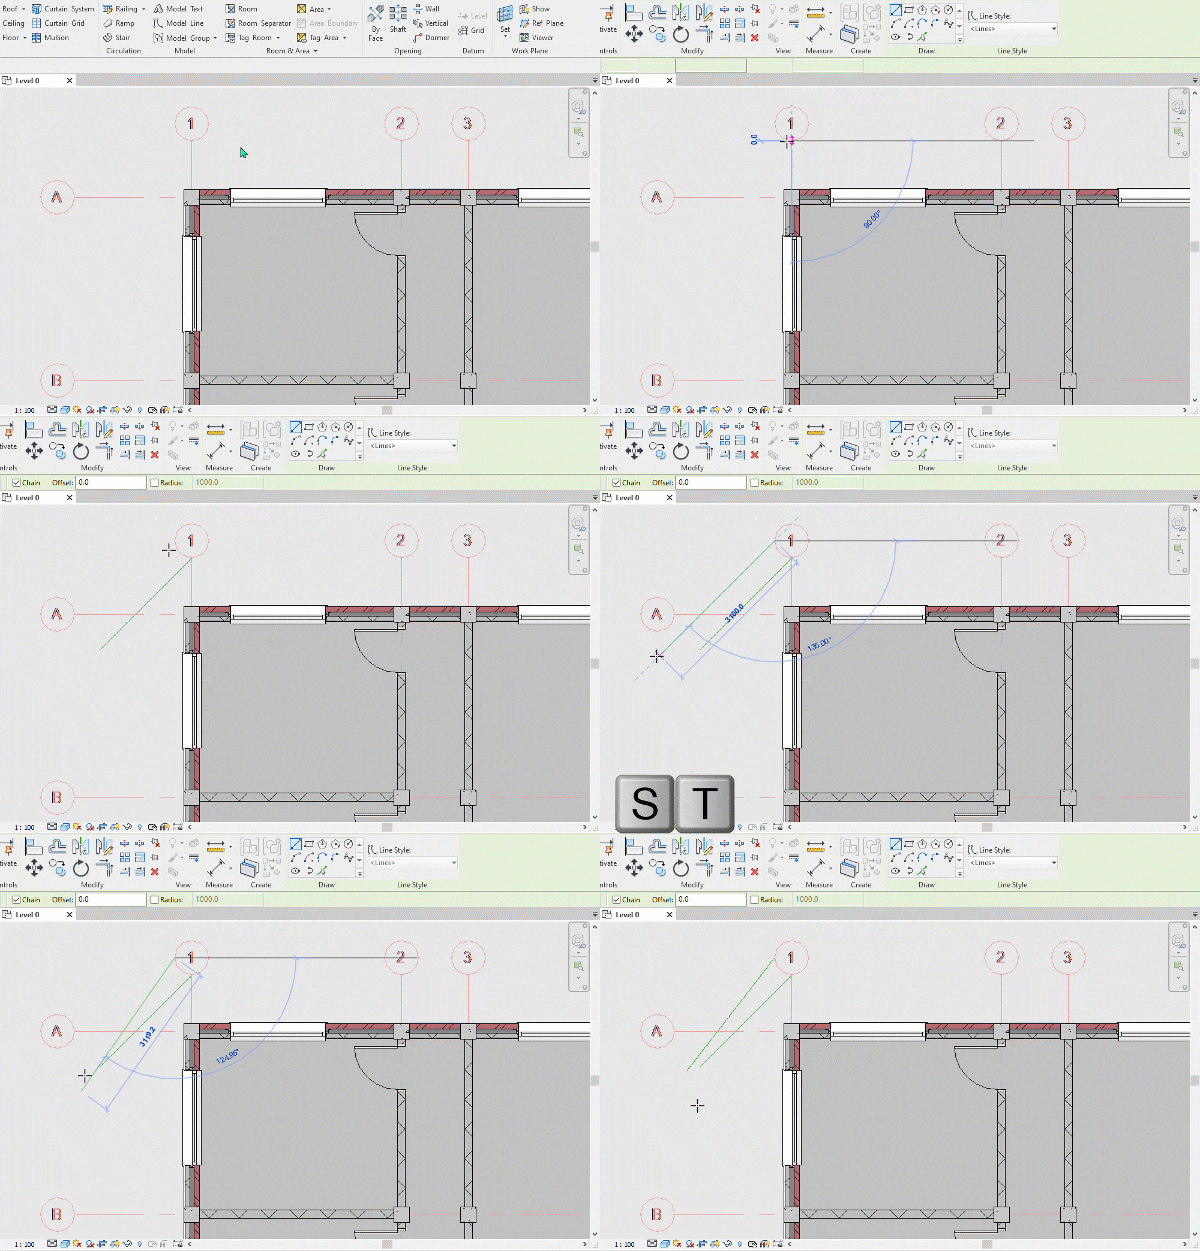
29. Work Plane Grid (SW):
Snaps to the work plane grid, enabling precise placement or alignment relative to the active work plane.
30. Points (SX):
Snaps to user-defined points or coordinates, facilitating accurate positioning or alignment.
31. ESC:
Closes the current sketch or operation, finalizing the creation or modification of elements.
View Control Bar Shortcuts:
As the name suggests, these are the commands and shortcuts that will help you control the view settings.
32. Spacebar:
Rotates selected elements by 90 degrees in Revit.
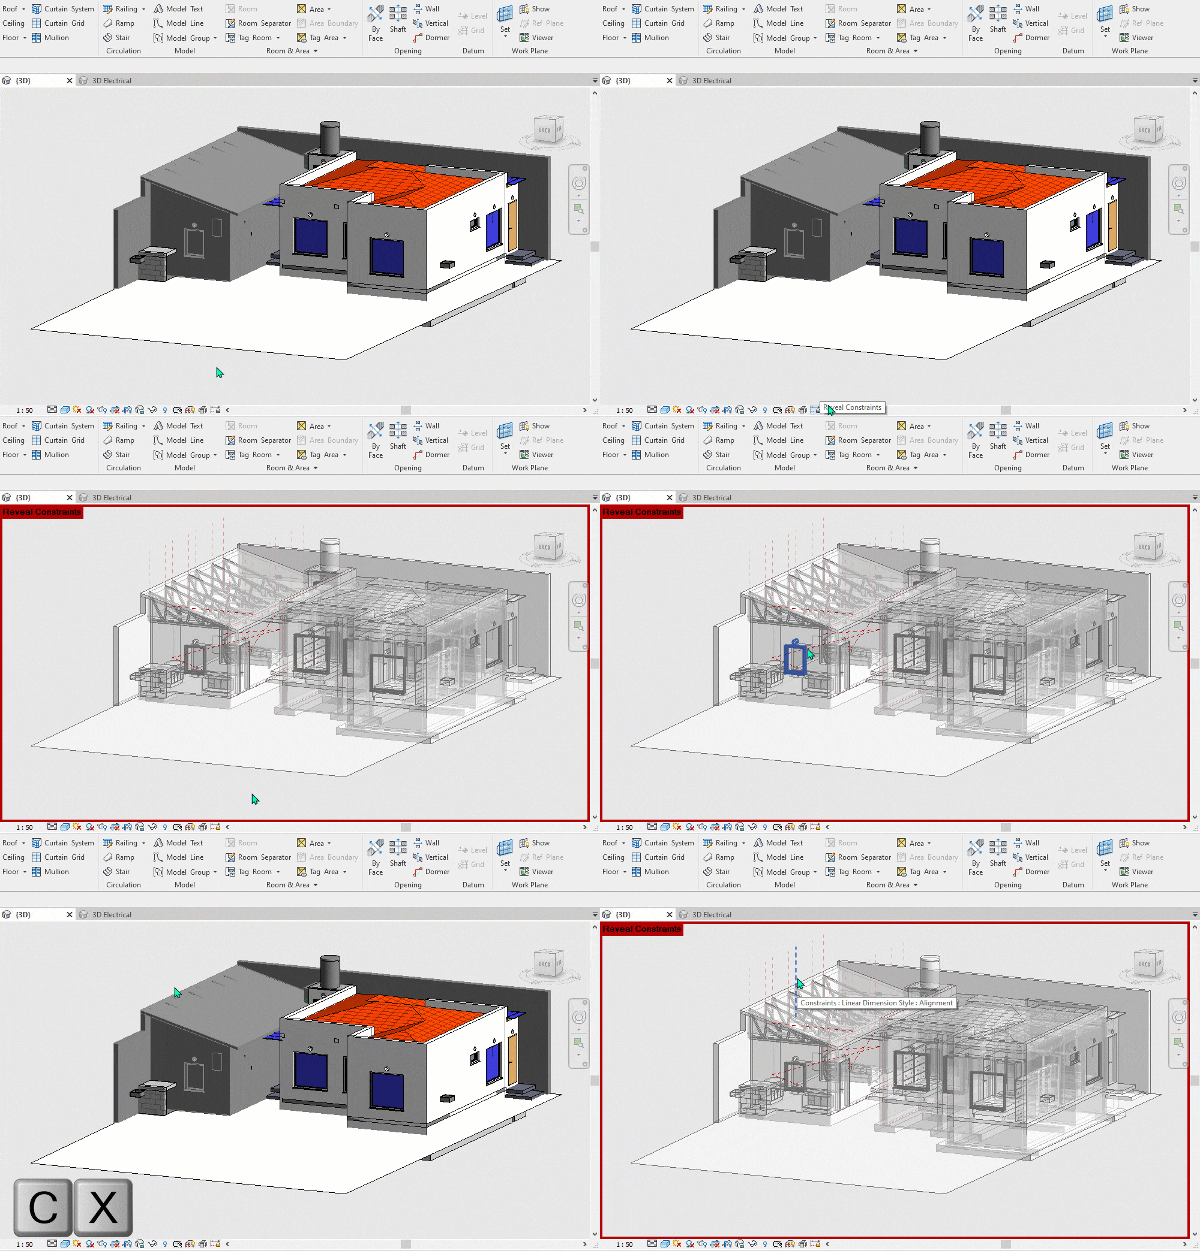
33. Reveal Constraints (CX):
Toggles the display of constraints in the view, providing visual feedback on element relationships or alignments.
34. Graphic Display Options (GD):
It opens the graphics dialogue box, allowing you to customize the display settings for elements and views in Revit.
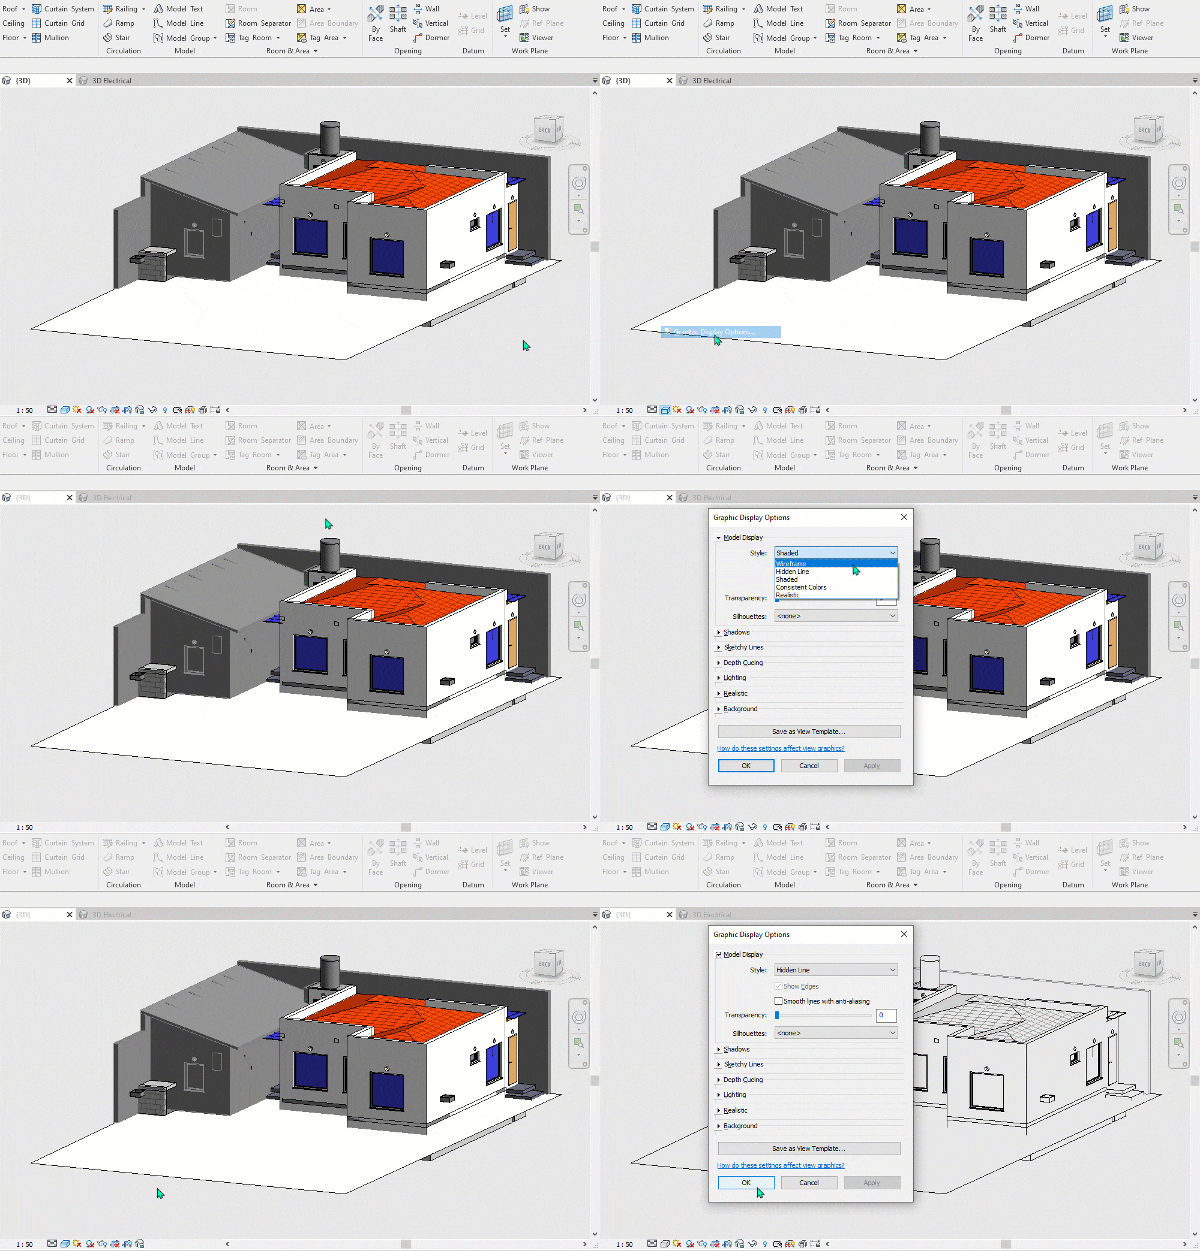
35. Hidden Line (HL):
Displays the view with hidden lines removed, providing a clear and simplified representation of the model geometry.
The same Hidden Line option can be found from the Graphics Display Options.
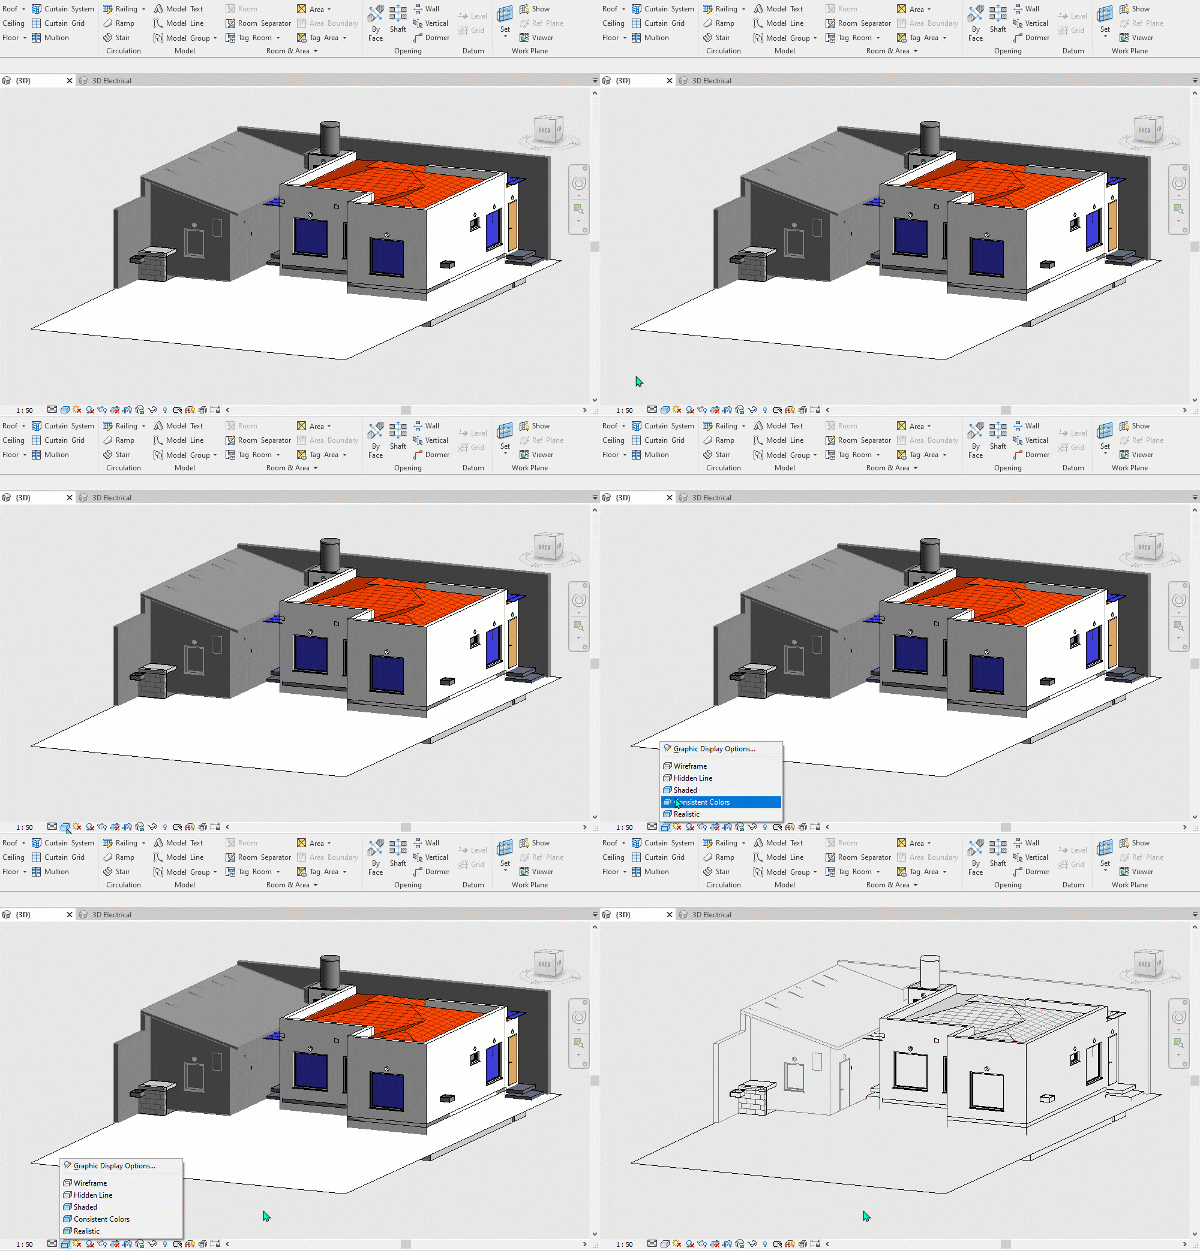
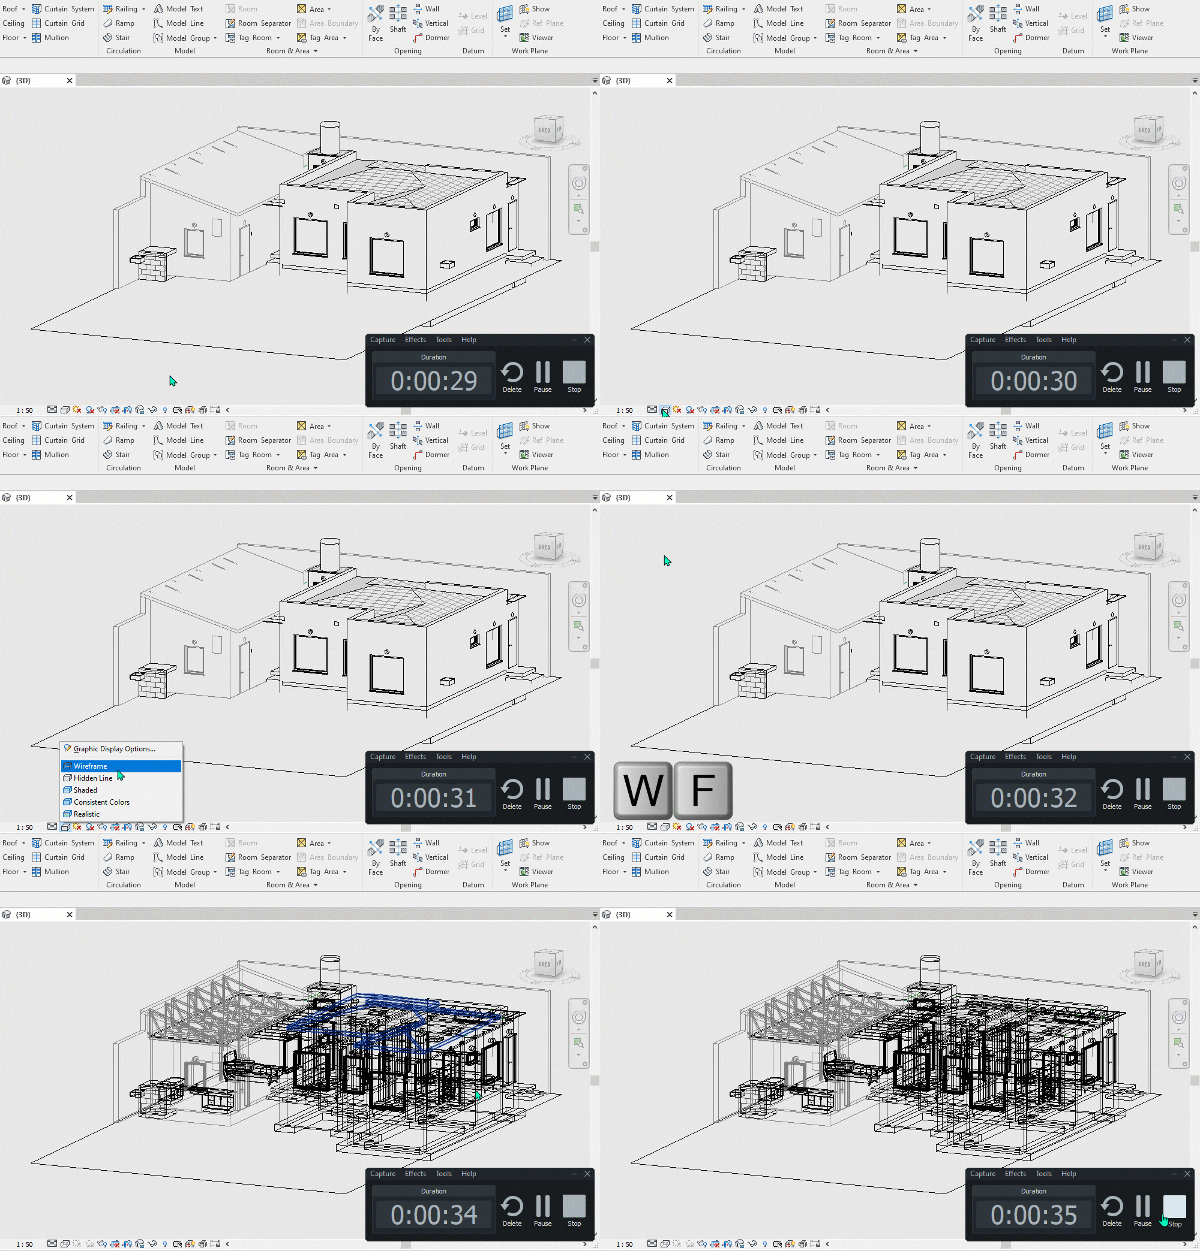
36. Wireframe (WF):
Displays the view with wireframe graphics, showing the model geometry as simple lines and edges without surface shading.
The same Wireframe option can be found from the Graphics Display Options (Linked shortcut)
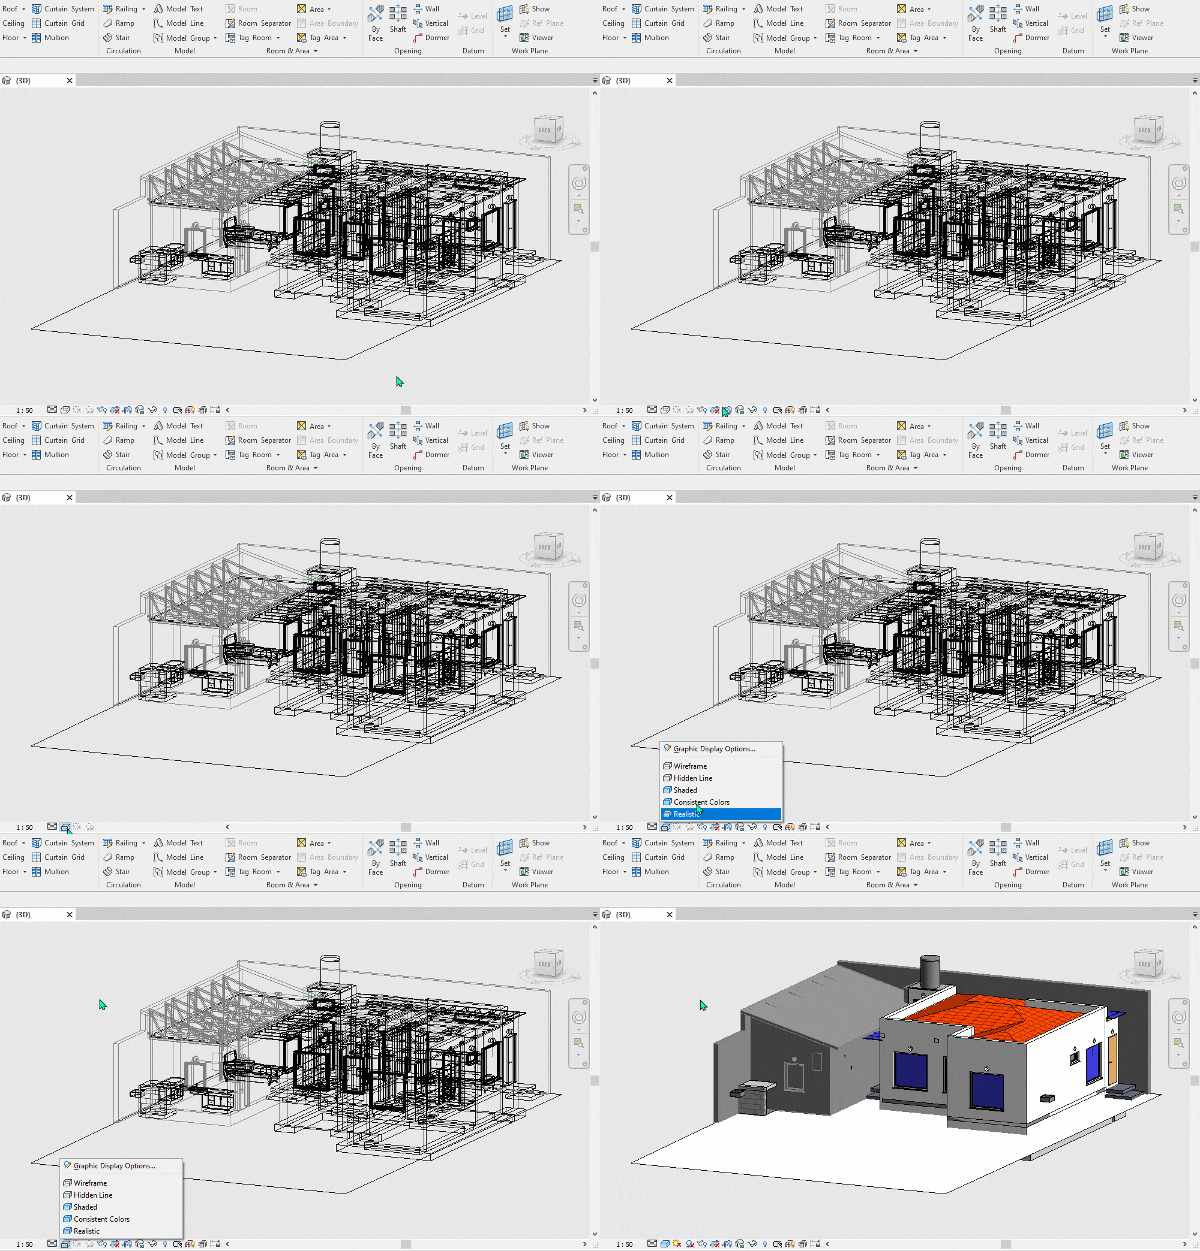
37. Shaded (SD):
Applies a shaded display mode to the view, providing a realistic representation of the model with surface shading and shadows.
The same Shaded option can be found from the Graphics Display Options (Linked shortcut)
Zoom Shortcuts:
These are navigation tool shortcuts and commands specially related to the zoom command.
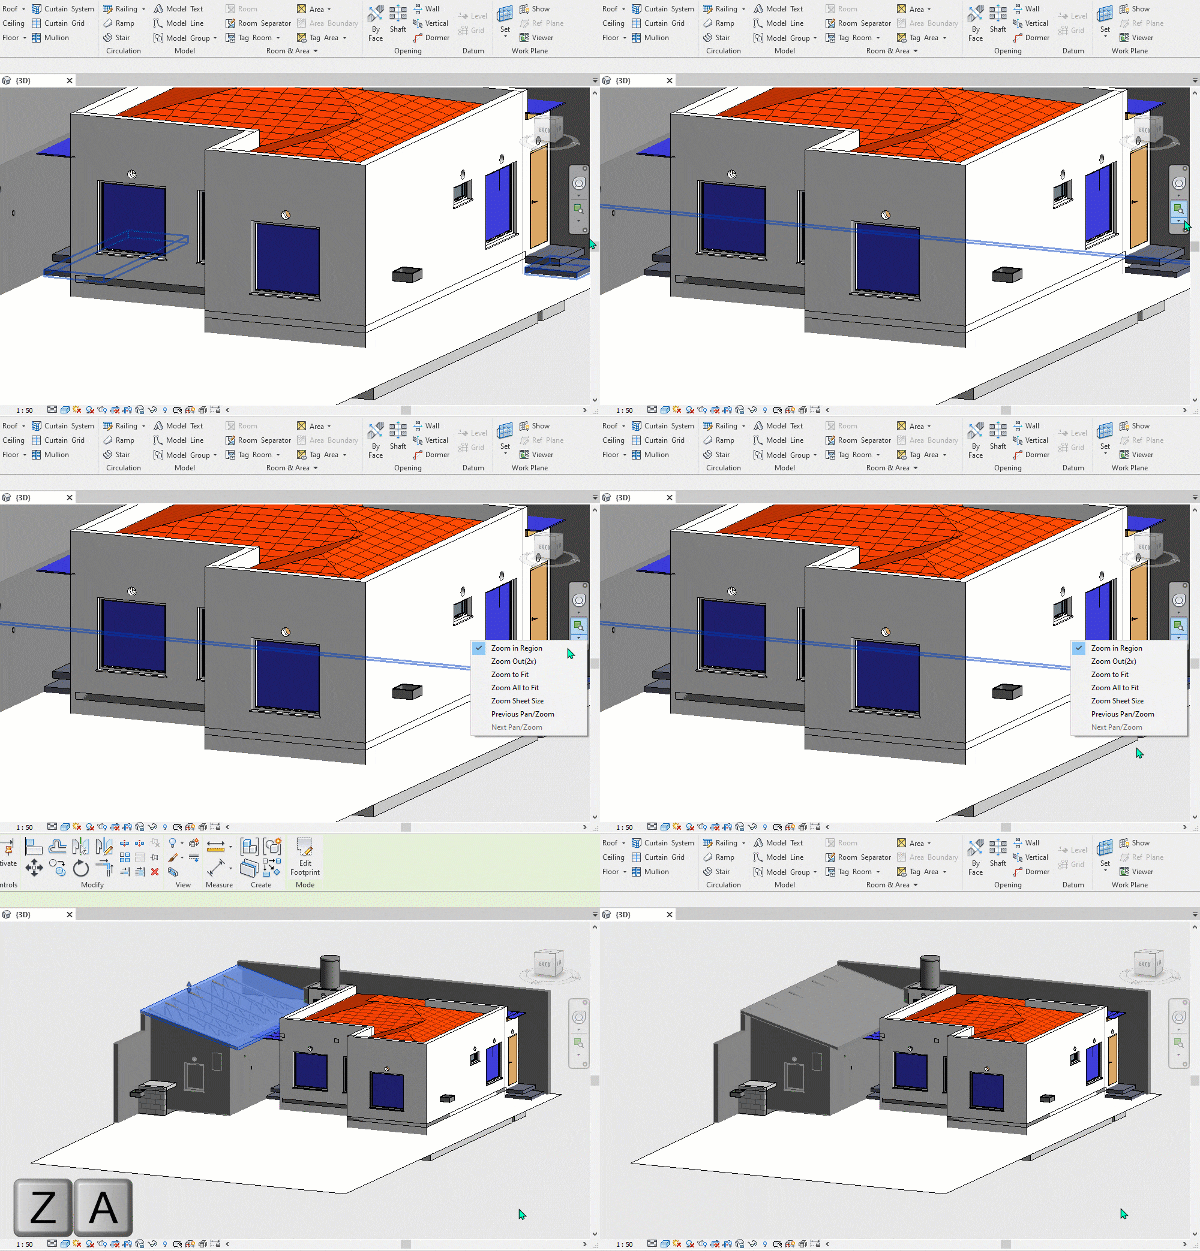
38. Zoom All to Fit (ZA):
Zooms the view to fit all elements within the viewport, providing an overview of the entire model.
39. Zoom to Fit (ZE):
Adjusts the view to fit the model within the viewport, ensuring that all elements are visible without distortion.
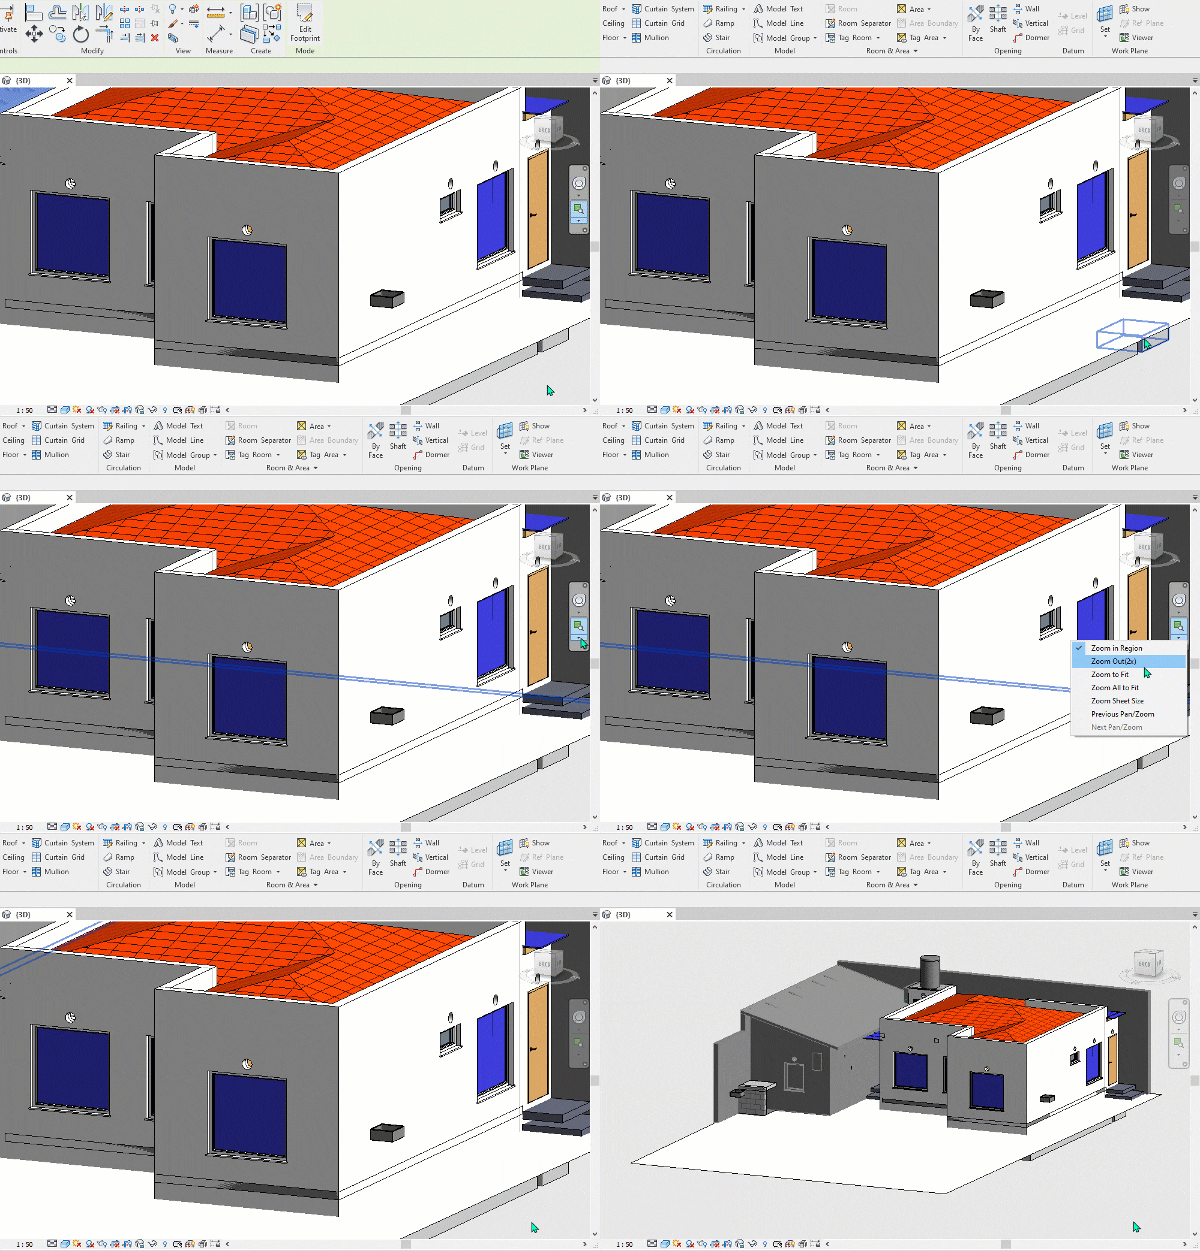
40. Zoom Out (ZO/ZV):
Zooms out the view, reducing the magnification level to display more of the model or surroundings.
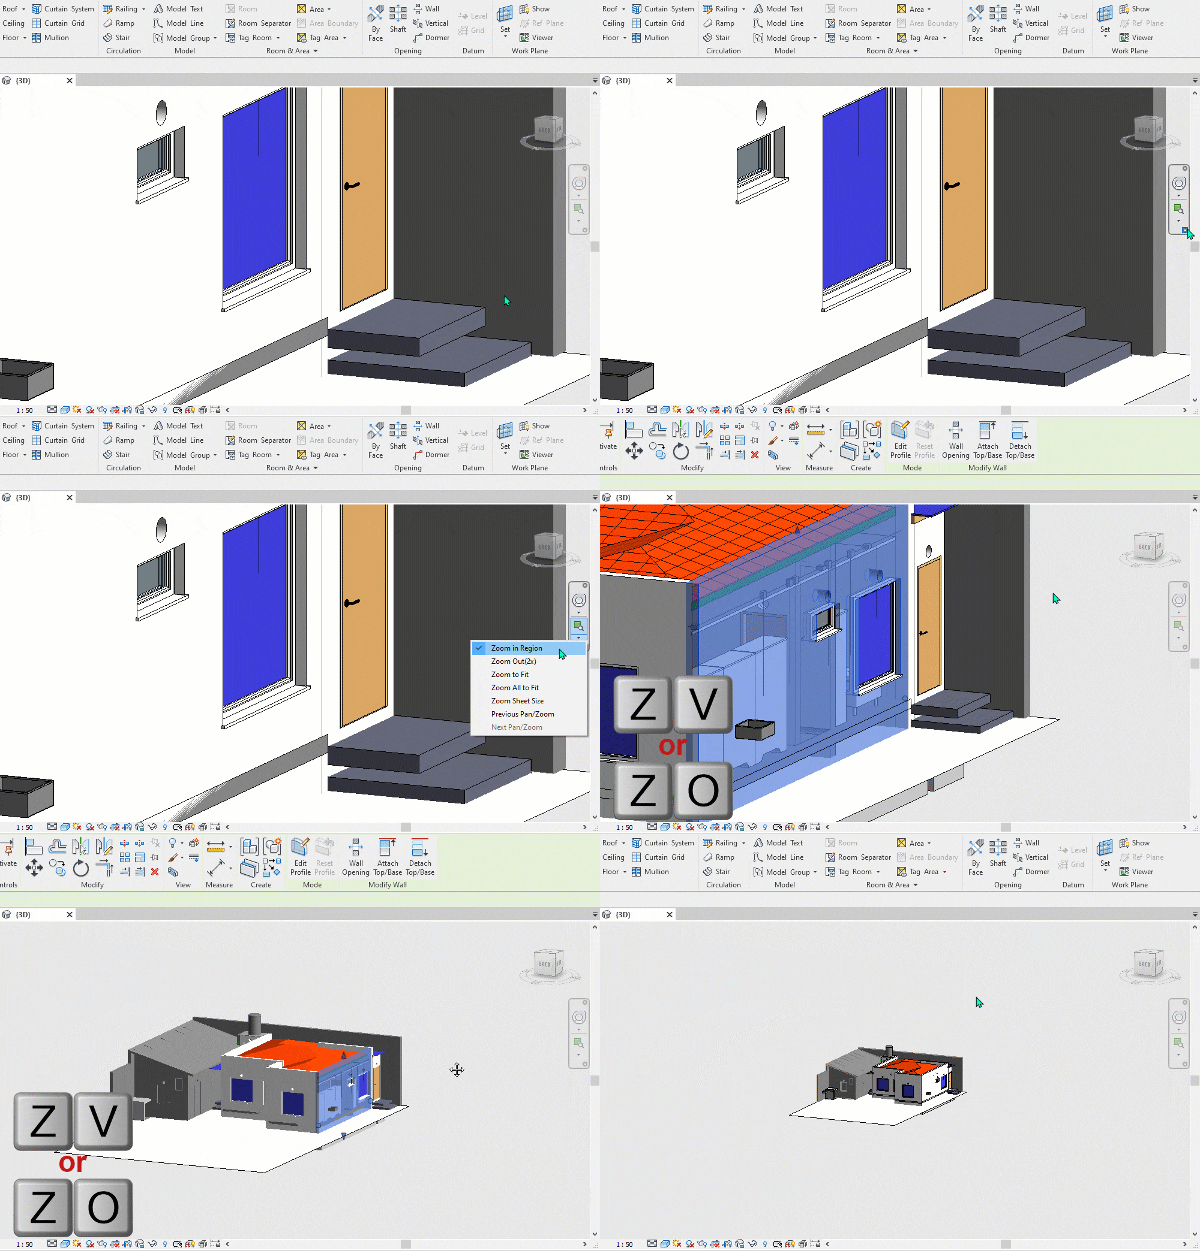
41. Previous Pan/Zoom (ZP/ZC):
Returns to the previous pan or zoom state, allowing you to revert to the previous view configuration.
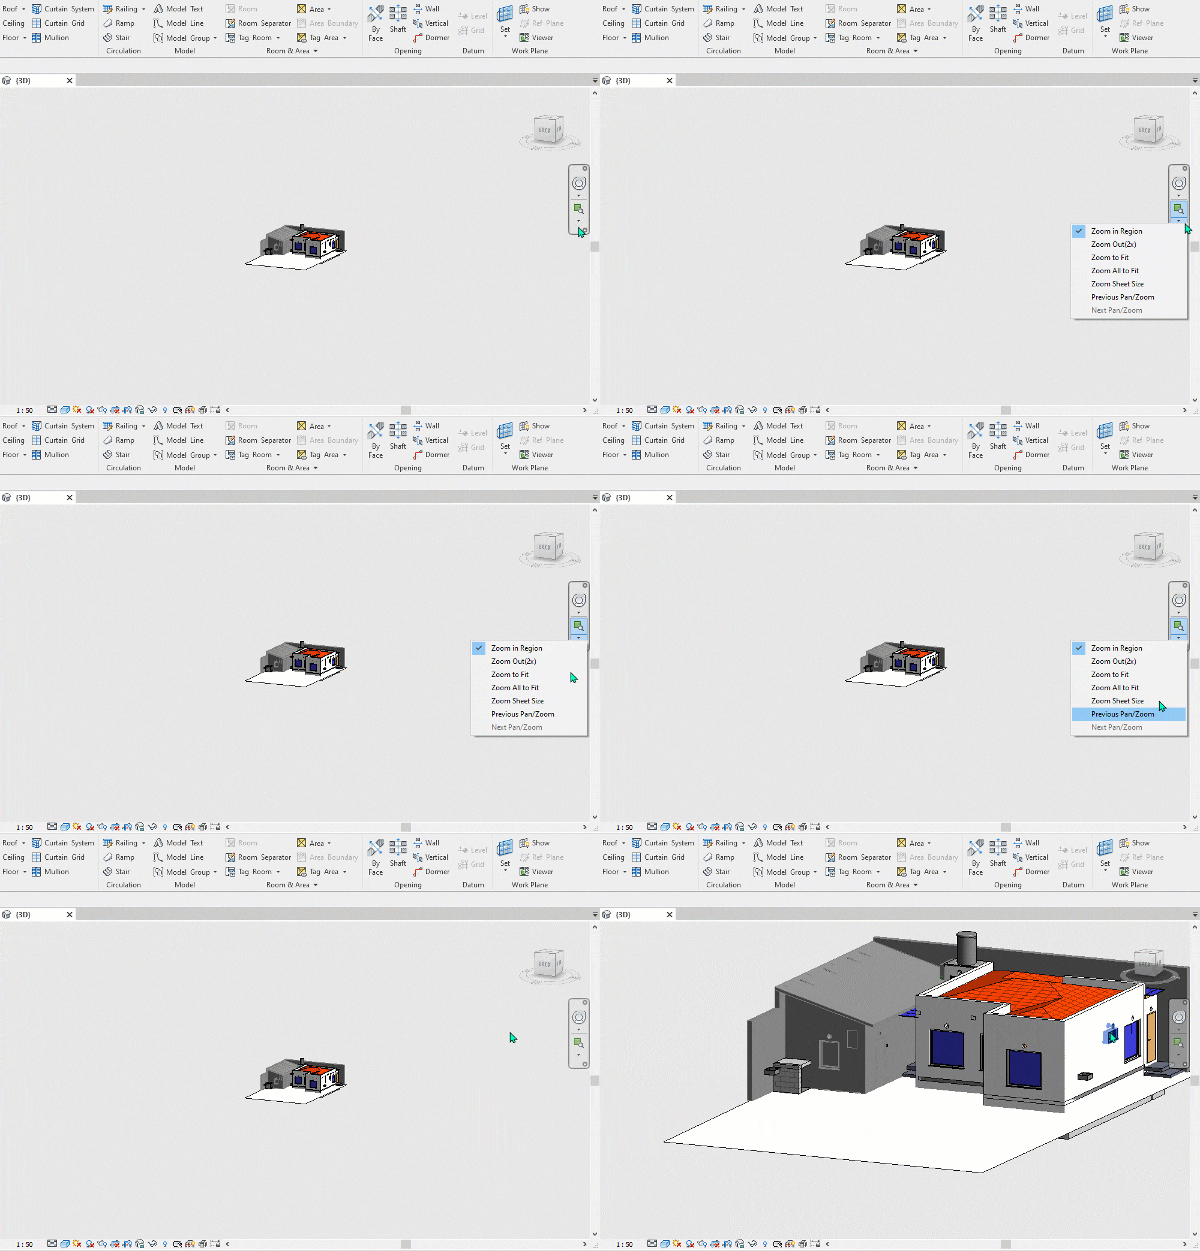
42. Zoom Sheet Size (ZS):
Zooms the view to match the size of the sheet or page, ensuring that the content fits within the printable area.
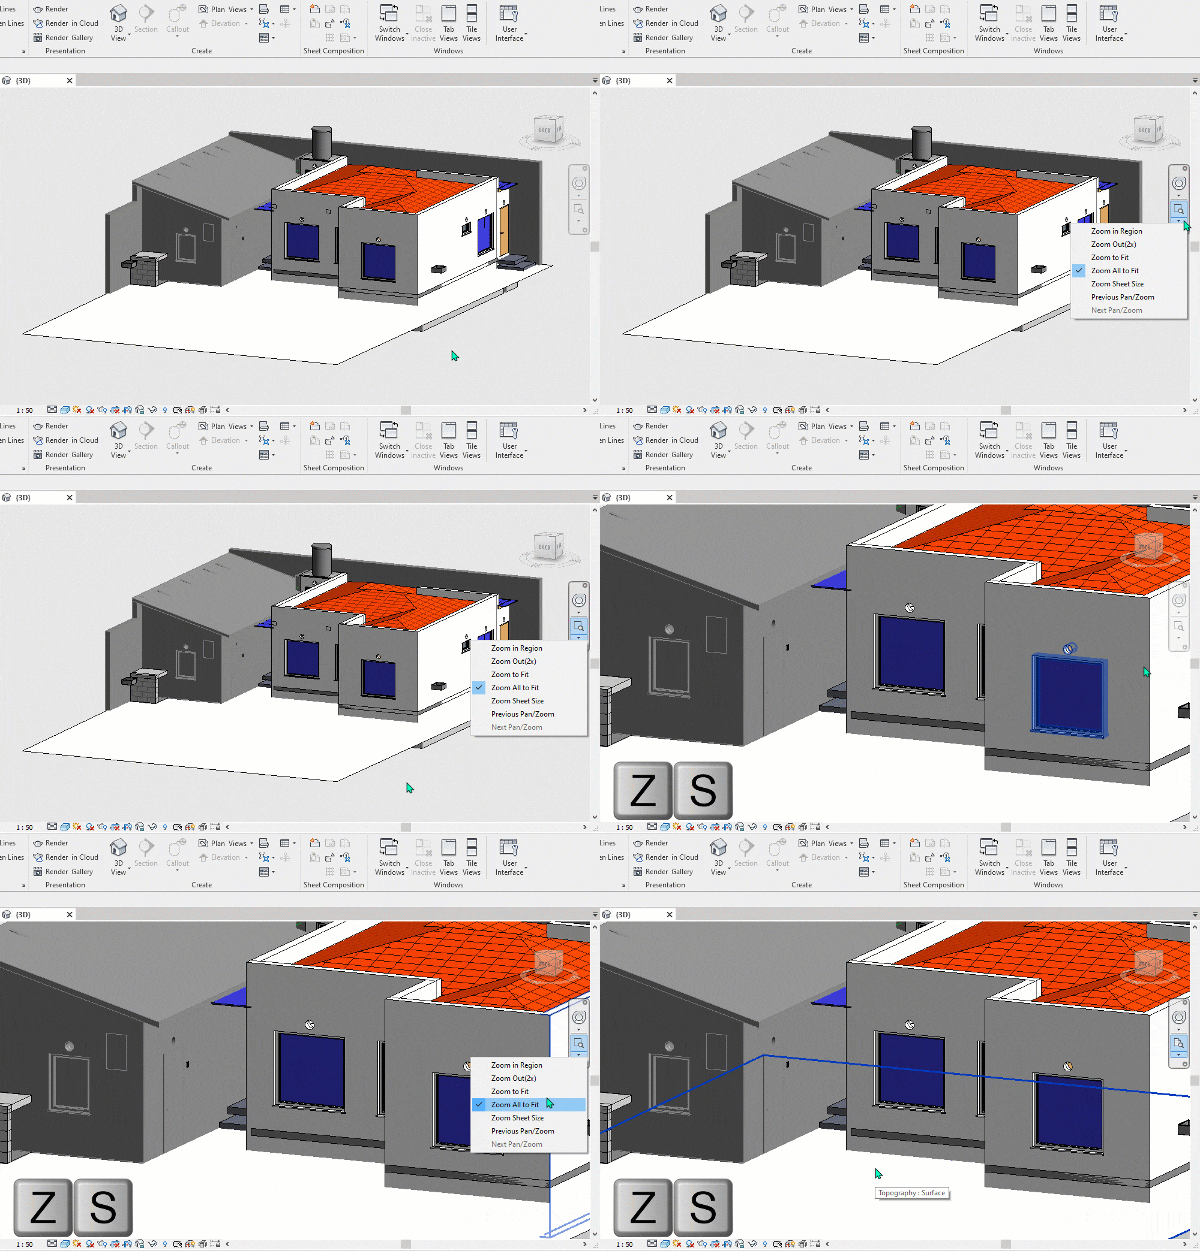
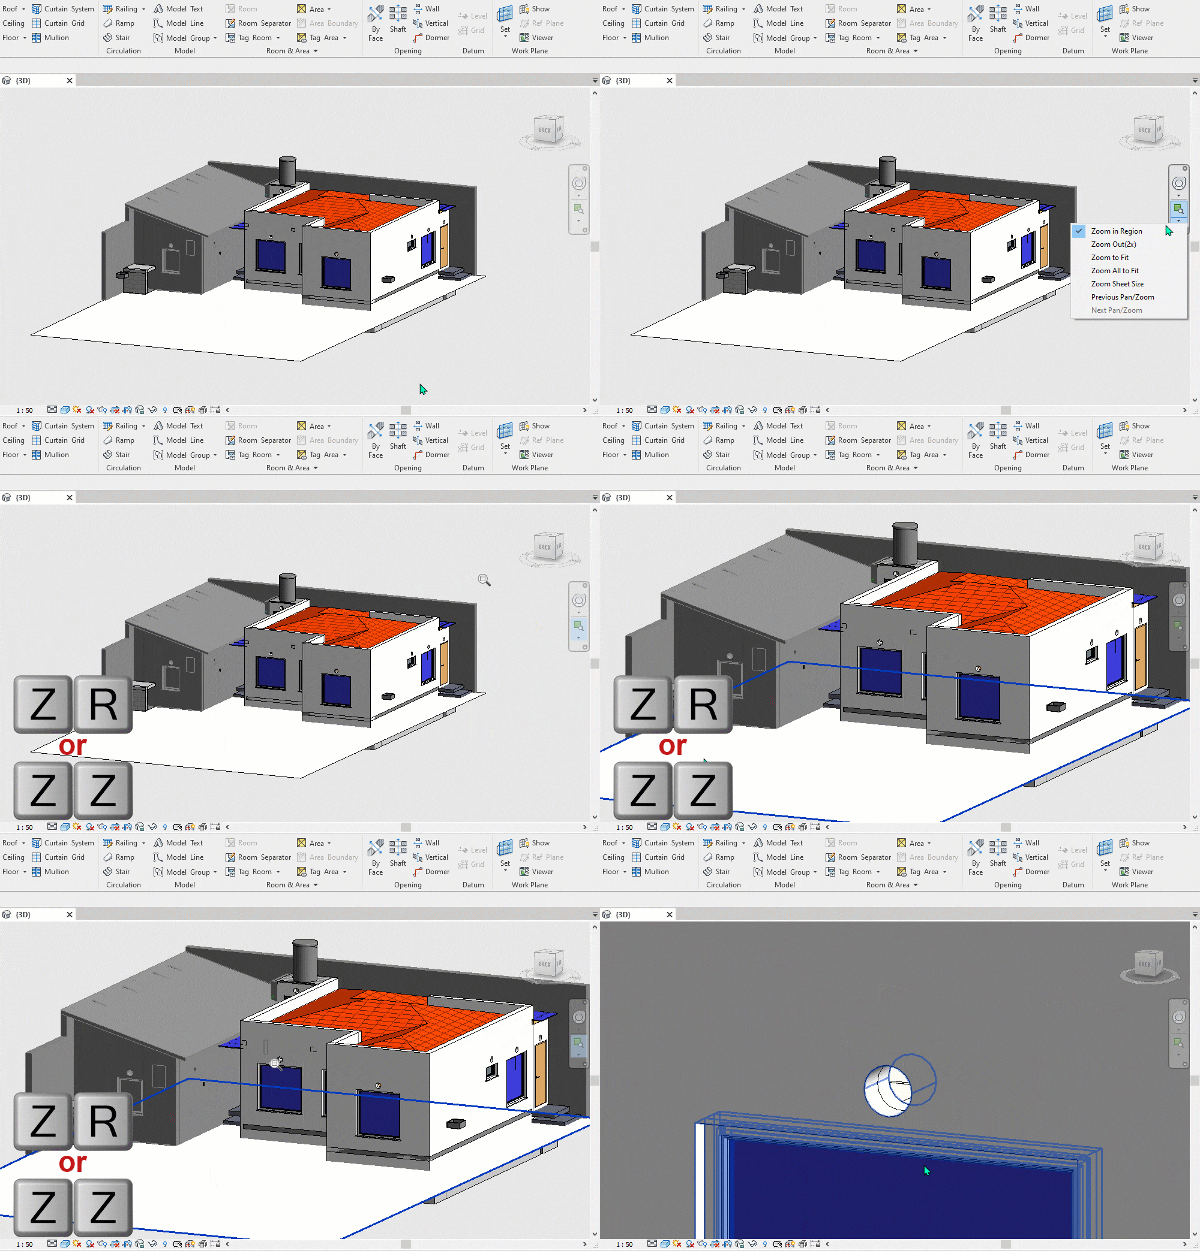
43. Zoom in Region (ZR/ZZ):
Allows you to specify a region to zoom in on, providing detailed inspection or analysis of a specific area.
View Graphics Shortcuts:
These are the commands and shortcuts related to graphics and display settings.
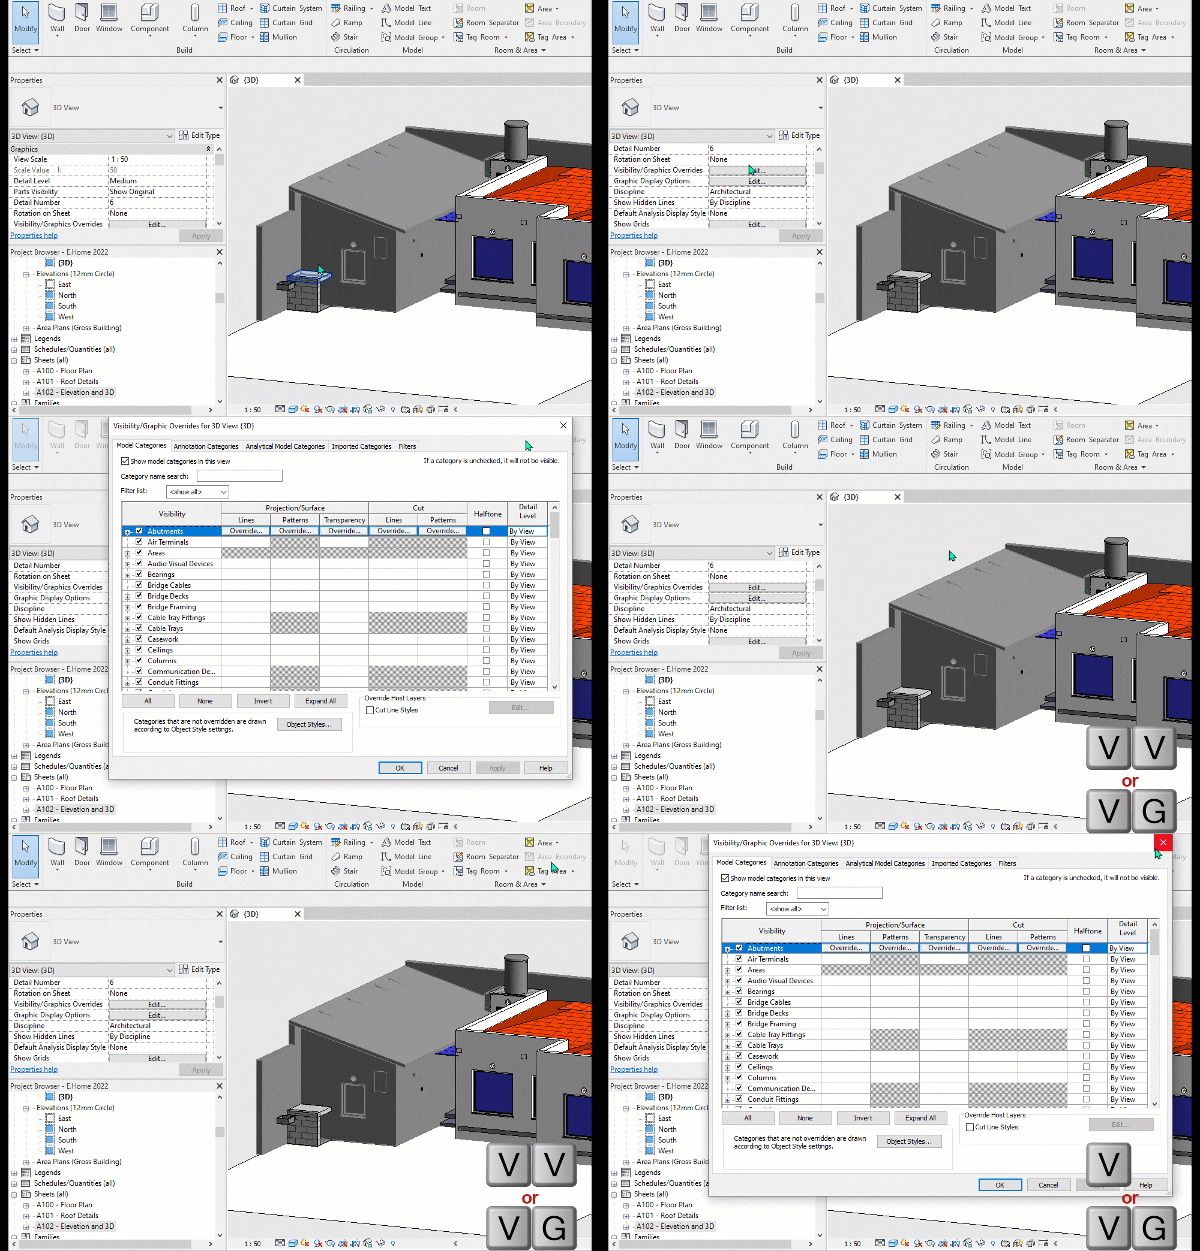
44. Visibility/Graphics (VG/VV):
Controls the visibility and graphic display of model elements, datum elements, and view-specific elements for each view in a project.
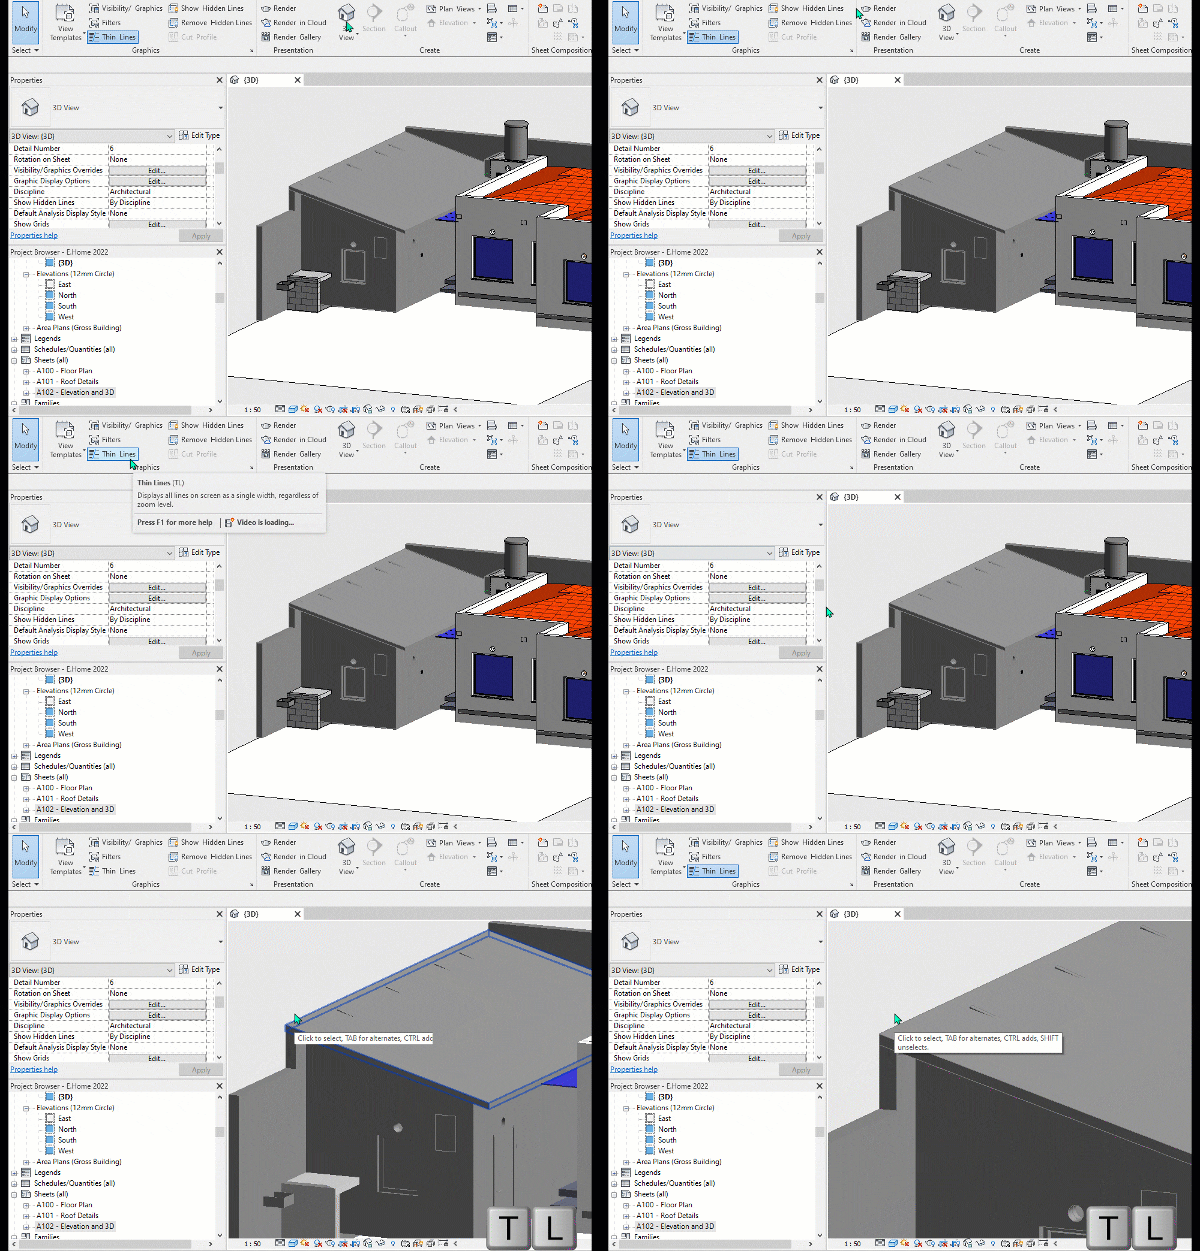
45. Thin Line (TL):
Displays all lines on the screen as a single width, regardless of the zoom level, providing a consistent and simplified representation of the model.
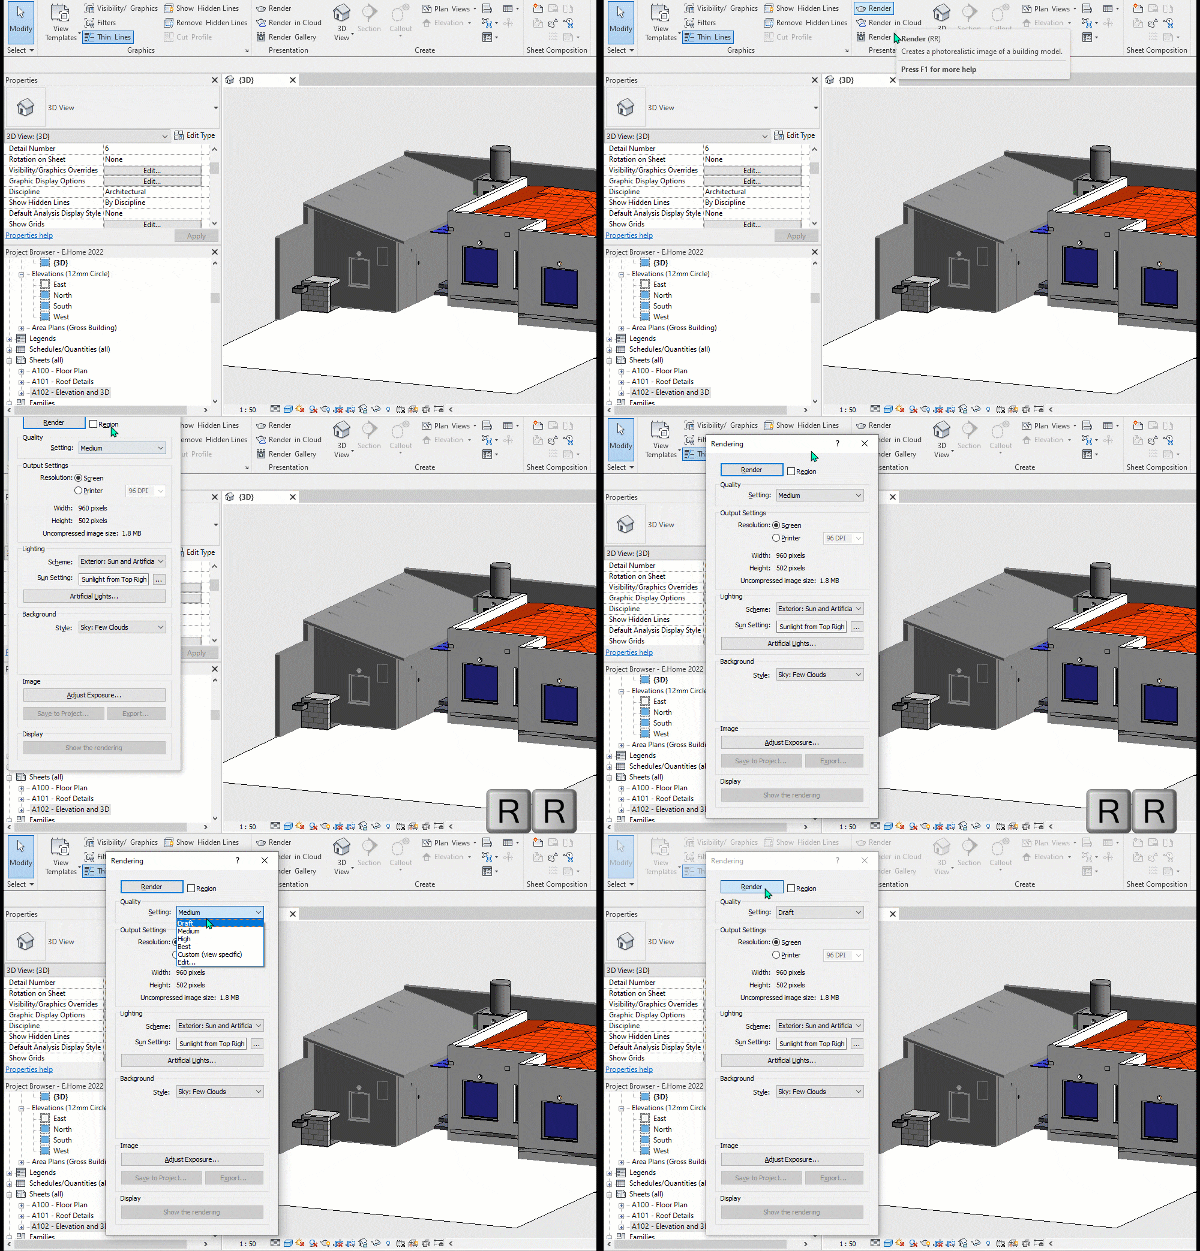
46. Render (RR):
Initiates the rendering process, creating photorealistic images or visualizations of the building model for presentations or analysis.
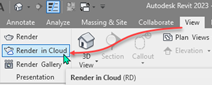
47. Render in Cloud (RD):
Renders 3D views online, leveraging cloud computing resources for faster and more efficient rendering.
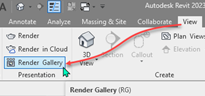
48. Render Gallery (RG):
Enables access to multiple versions of renderings, allowing you to compare different render settings or styles and select the desired output.
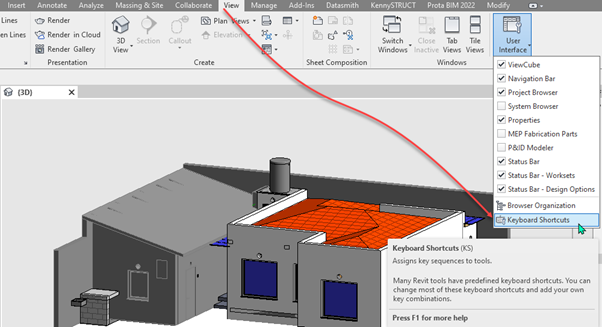
49. Keyboard Shortcuts (KS):
It assigns key sequences to tools or commands within Revit, enhancing your efficiency and productivity.
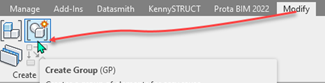
50. Create Group (GP):
Creates a group of elements, allowing you to organize and manipulate multiple elements as a single entity.
51. Model Line (LI):
Places a new model line, allowing you to create custom geometry or reference lines within the project.

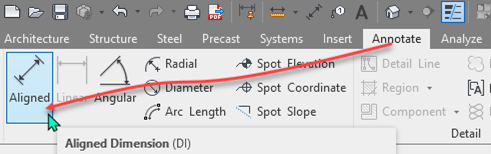
52. Aligned Dimension (DI):
Creates an aligned dimension, specifying the distance or length between two points or elements in the building model
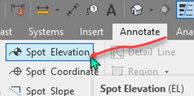
53. Spot Elevation (EL):
Displays the elevation of a selected point, providing vertical reference information within the building model.
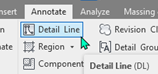
54. Detail Line (DL):
Creates view-specific lines for detailing or annotation purposes, enhancing the graphical representation of the model
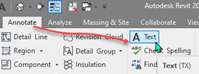
55. Text (TX):
Adds text to the view, allowing you to provide annotations, labels, or other textual information within the building model.
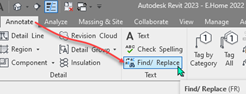
56. Find/Replace (FR):
Initiates a find and replace operation, allowing you to search for specific elements or parameters and replace them with new values.
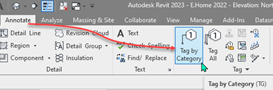
57. Tag by Category (TG):
Applies tags to elements based on their categories, providing automated annotation and identification of building components.
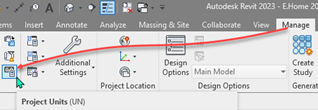
58. Project Unit (UN):
Opens the Project Units tool, allowing you to define and manage the units and formats used for dimensions, areas, volumes, and other measurements in the project.
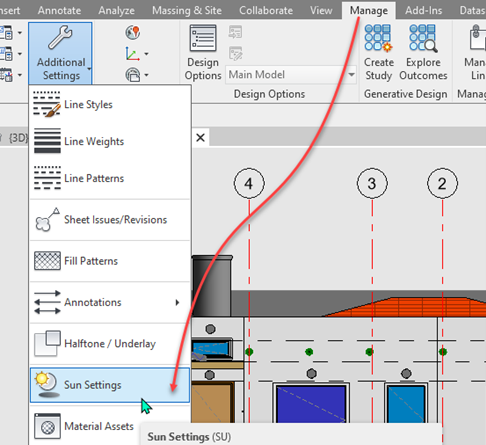
59. Sun and Shadow Settings (SU):
Opens the sun settings dialog box, allowing you to configure the position, date, time, and other parameters related to sun and shadow studies in the project.
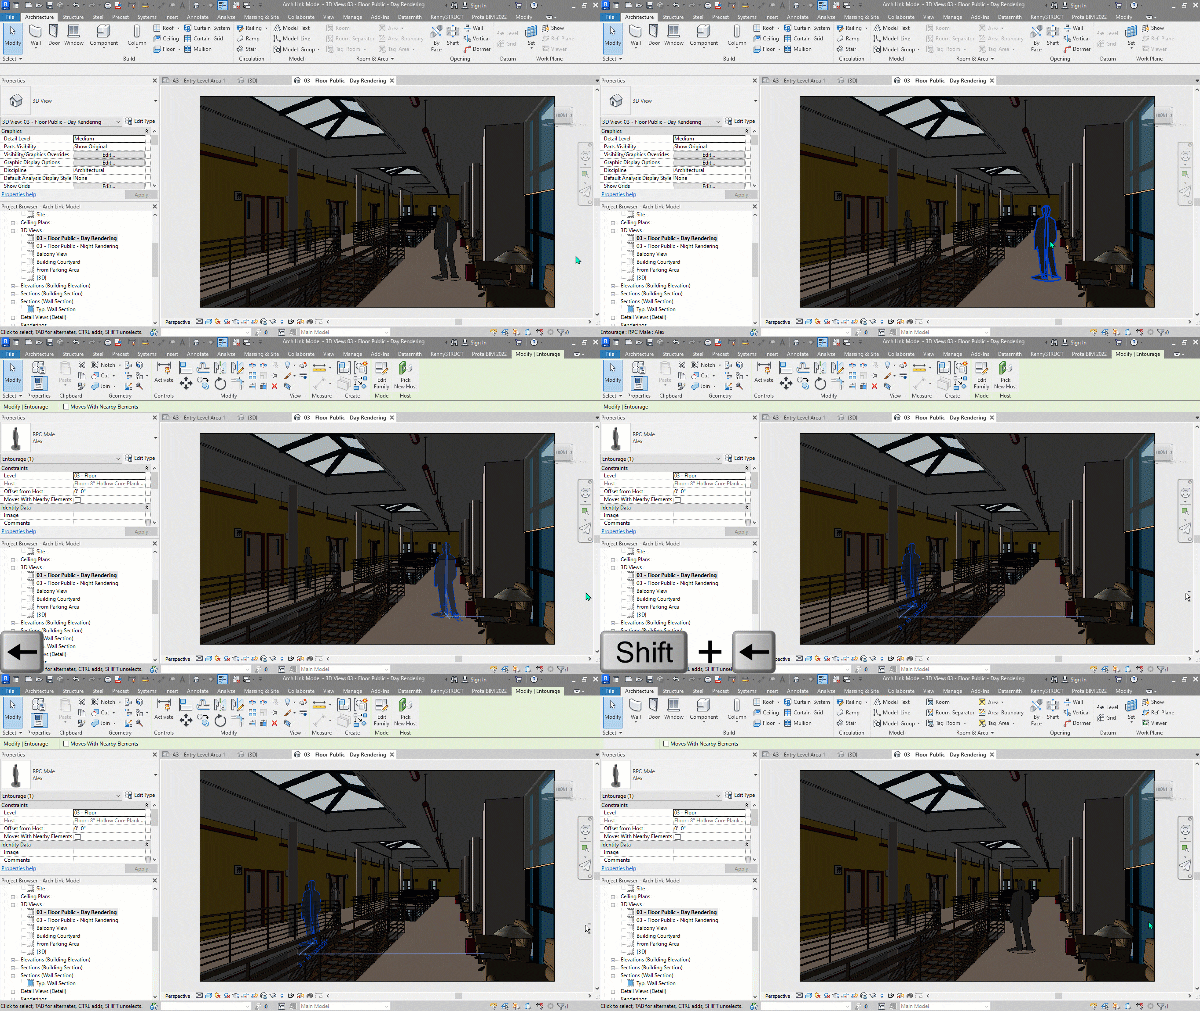
60. Moving Objects (Shift + direction):
You can use “Shift + direction” to move your selected object in great increments within your model, either in the 3D view or layout.
Worksharing:
These are commands and shortcuts related to worksharing in Revit.
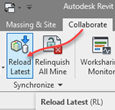
61. Reload Latest (RL/RW):
Loads the latest version of the central model, ensuring that you have access to the most up-to-date project data.
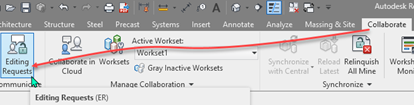
62. Editing Requests (ER):
Displays a list of users' requests to borrow elements in worksets, as well as pending requests, facilitating collaboration and coordination in multi-user environments.
Function Keys:
These are function key shortcuts that you can use in Revit.
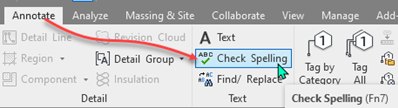
63. Spelling tool: F7
Activates the spelling tool, allowing you to check and correct spelling errors within text elements.
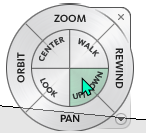
64. Navigation wheel: F8
Opens the navigation wheel, providing quick access to navigation tools for rotating, panning, and zooming the view
65. Key tips: F10 or Alt
Activates key tips, displaying shortcut keys for various commands and tools within Revit.
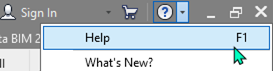
66. Revit help: F1
Displays Revit help, providing assistance and information on using Revit features and tools.
This is the list of keyboard shortcut and key combinations that you can use to start quick functions in Revit.
67. Ctrl + Z or Alt + Backspace: Undo
You can undo the last action instantly with Ctrl + Z or Alt + Backspace.
It is handy for reverting any unintended changes or mistakes.
68. Ctrl + Shift + Z or Ctrl + Y: Redo
Redo your last undone action by pressing Ctrl + Shift + Z or Ctrl + Y.
If you accidentally undo something you didn't mean to, this shortcut allows you to redo it quickly.
69. Ctrl + S: Save
Safeguard your progress by saving the current project with Ctrl + S.
It's essential to save your work regularly to avoid losing any changes.
70. Ctrl + N: New Project
Start a new project swiftly using Ctrl + N.
This shortcut helps you create a new project without navigating through menus.
71. Ctrl + O: Open Project
Open an existing project by pressing Ctrl + O.
This shortcut saves you time by quickly accessing previously saved projects.
72. Ctrl + C or Ctrl + Insert: Copy
Copy selected elements effortlessly with Ctrl + C or Ctrl + Insert.
This allows you to duplicate elements within the project.
73. Ctrl + V: Paste
Paste copied elements into the project using Ctrl + V.
After copying elements, use this shortcut to place them in the desired location.
74. Ctrl + X or Shift + Delete: Cut
Cut selected elements from the project with Ctrl + X.
This removes the elements from their current location while allowing you to paste them elsewhere.
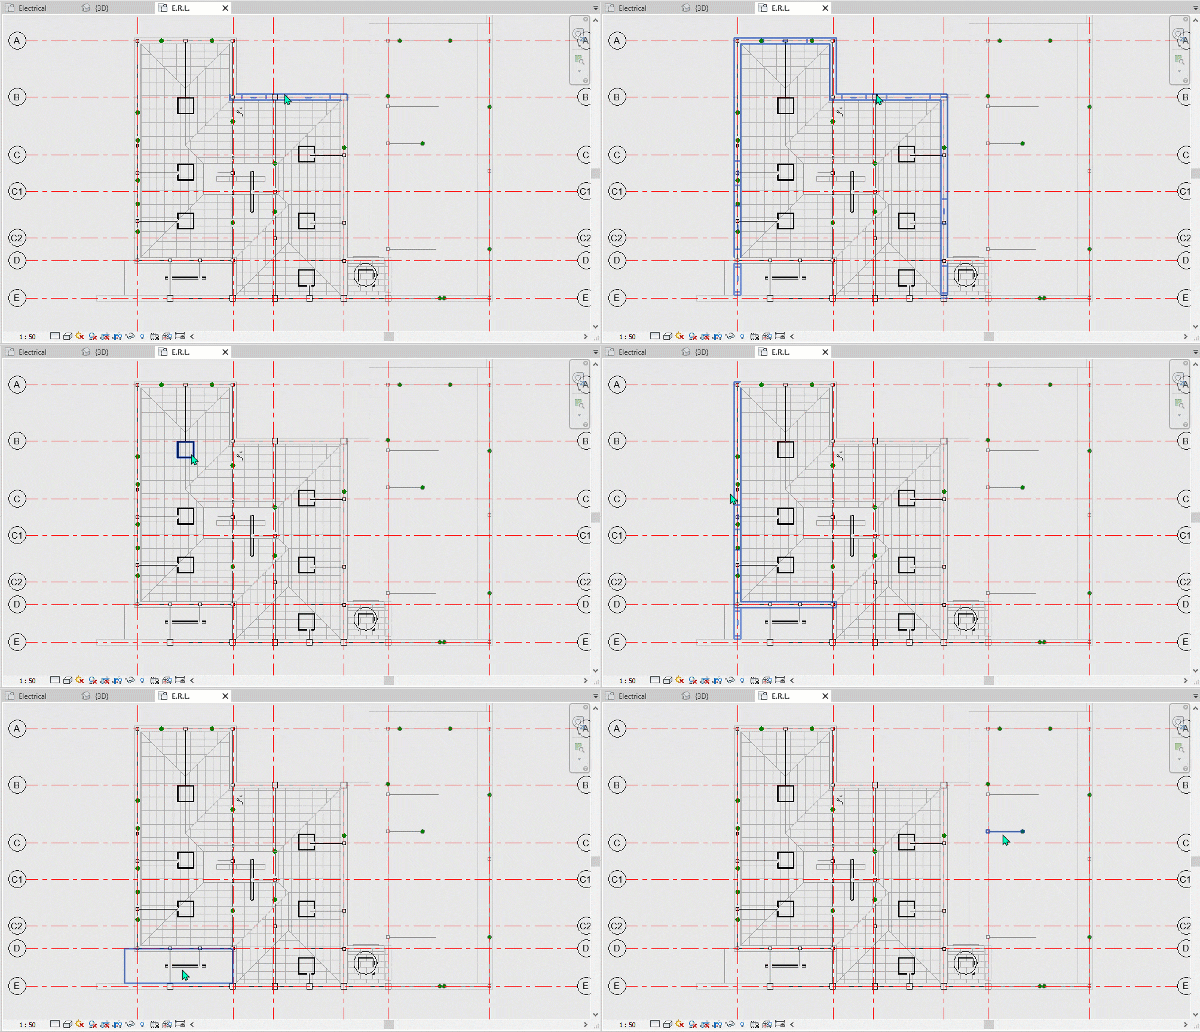
75. Tab: Cycle Selection
Cycle through pre-selected elements in the project by pressing Tab.
It is useful for selecting multiple elements when they overlap or are close together.
Hover your cursor over the area in which you would like to select the item and press on the tab key to cycle through the options.
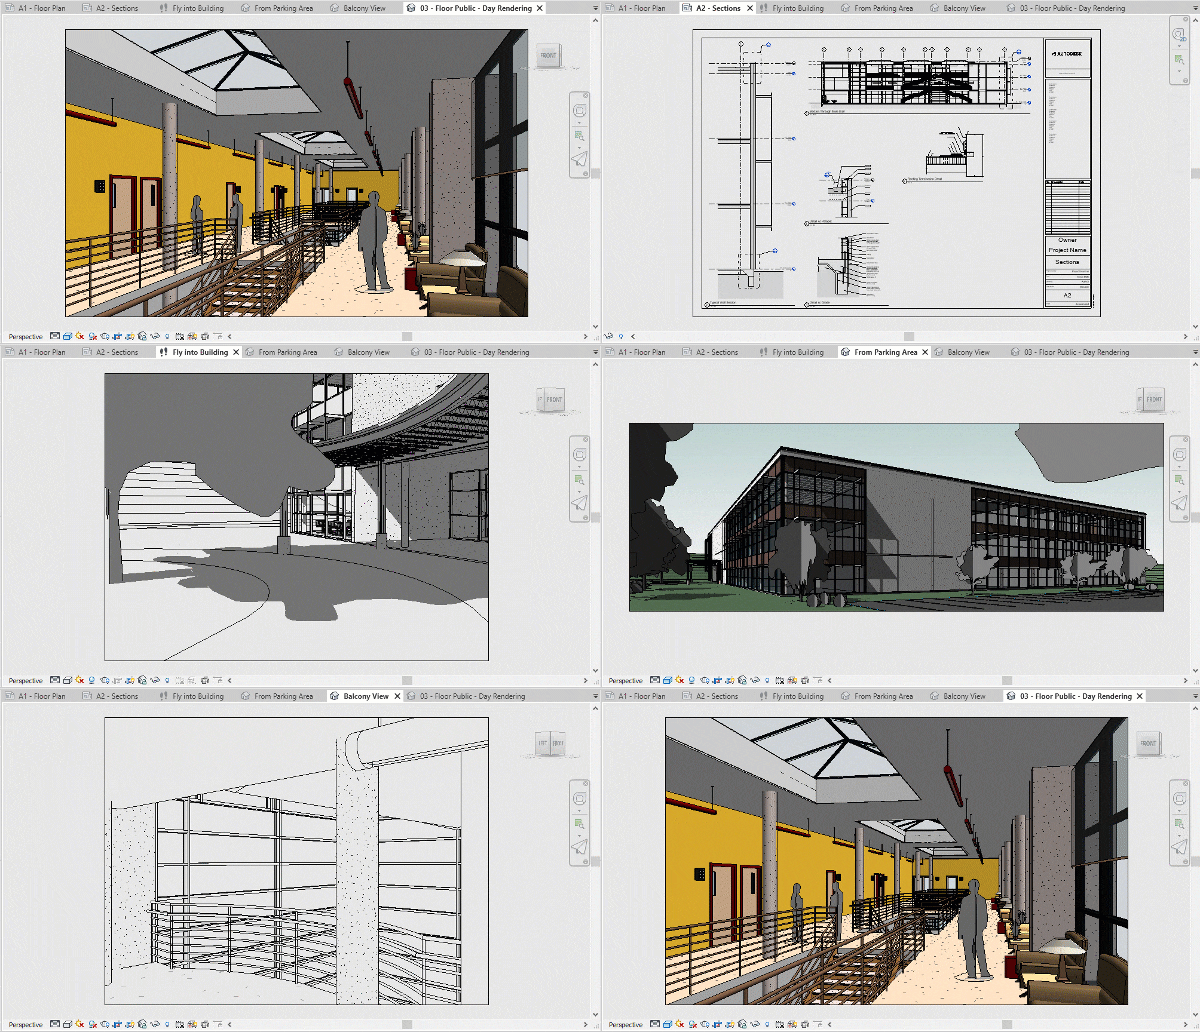
76. Ctrl + Tab: Switch Views
Switch between open views swiftly using Ctrl + Tab.
The shortcut makes it easy to navigate between different views of your project.
Revit Architecture Commands
These are the commands and shortcuts that you can use in Revit architecture.
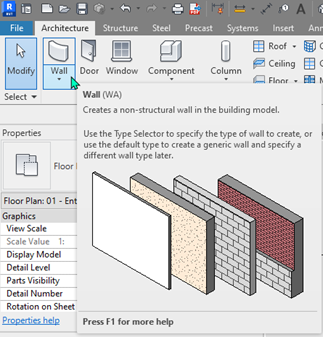
77. Wall (WA)
You can use this command to quickly place walls in your building model.
Simply activate the tool and click to define the start and end points of the wall.
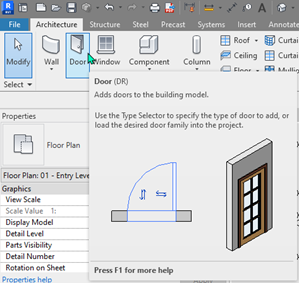
78. Door (DR)
With this shortcut, you can efficiently insert doors into your walls.
Select the tool, then click on the desired wall to place the door.
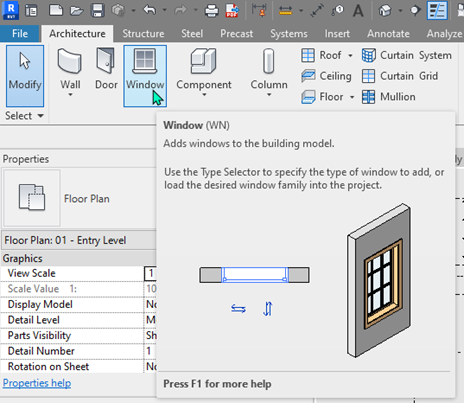
79. Window (WN)
This command allows you to add windows to your building model.
After activating the tool, click on the wall where you want to insert the window.
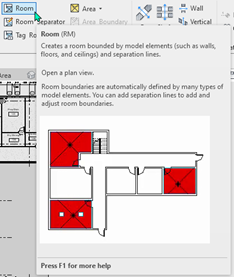
80. Room (RM)
You can use this command to create rooms within your project.
Simply activate the tool and click to define the boundaries of the room.
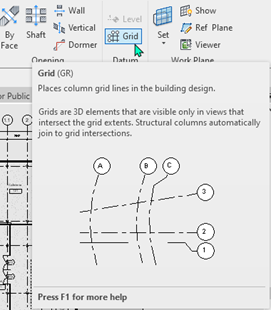
81. Grid (GR)
You can use this command to place column grid lines in your building design.
Simply activate the tool and click to define the grid line.
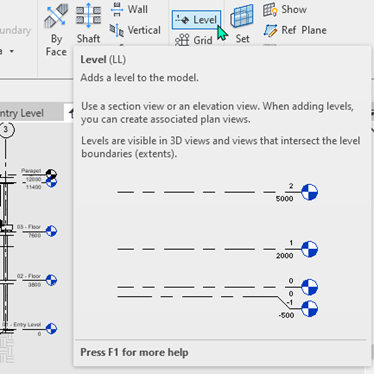
82. Level (LL)
With this shortcut, you can quickly place a level in your view.
Activate the tool and click to define the elevation of the level.
Revit Structure Commands
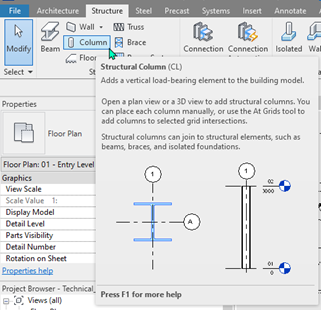
83. Column (CL)
Use this shortcut to add vertical load-bearing columns to your building model.
Activate the tool and click to place the column at the desired location.
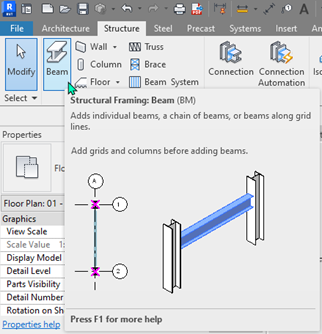
84. Beam (BM)
With this command, you can insert structural beams into your project.
After activating the tool, click to define the start and end points of the beam.
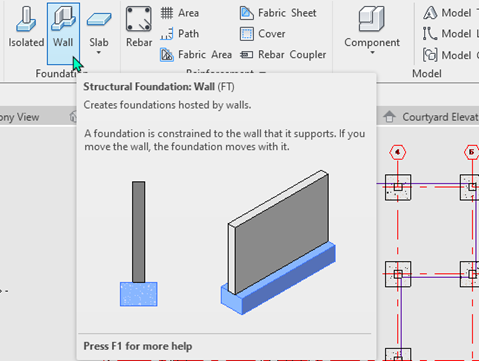
85. Foundation (FT)
This command allows you to create wall foundations for your building model.
Activate the tool, then click to place the foundation at the desired location.
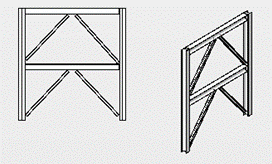
86. Brace (BR)
Use this shortcut to add diagonal bracing members to your structural systems.
After activating the tool, click to place the brace in your project.
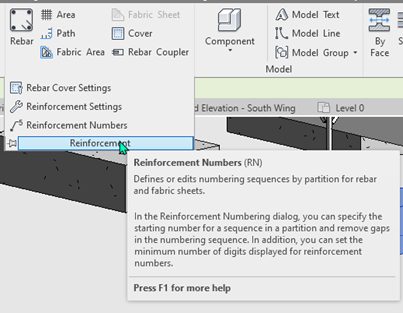
87. Reinforcement (RN)
You can use this command to define or edit numbering sequences for rebar and fabric sheets.
Activate the tool and follow the prompts to specify the numbering settings.
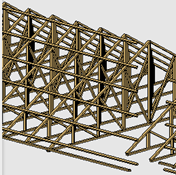
88. Structural Beam System (BS)
With this command, you can create layouts to control the number and spacing of parallel beams in your building model.
Activate the tool and follow the prompts to define the beam system.
89. Reference Plane (RP)
This shortcut allows you to create reference planes using drawing tools.
Activate the tool and click to define the reference plane in your project.

90. Load (LD)
Use this command to apply point, line, and area loads to your structural model.
Activate the tool and follow the prompts to specify the load parameters.
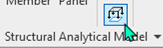
Revit Mechanical, Electrical, and Plumbing (MEP) Commands:
All the useful commands and shortcuts from Revit MEP are covered in this section.
If you are new to Revit MEP then you can learn the software right from scratch using the free Revit MEP essentials for beginners.
91. Duct (DT)
This command allows you to draw ductwork in your building model.
Activate the tool and click to define the duct path.

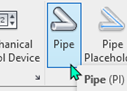
92. Pipe (PI)
You can use this command to draw piping for your plumbing systems.
Activate the tool and click to define the pipe route.
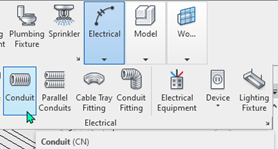
93. Conduit (CN)
Use this shortcut to draw rigid conduits for your electrical wiring.
After activating the tool, click to specify the conduit path.
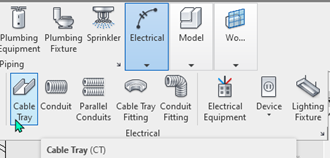
94. Cable Tray (CT)
This command enables you to draw cable trays for your electrical systems.
Activate the tool and click to define the cable tray route.
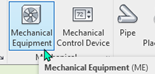
95. Mechanical Equipment (ME)
With this shortcut, you can quickly place mechanical equipment such as boilers and fans in your building model.
Activate the tool and click to place the equipment.
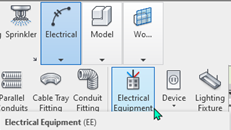
96. Electrical Equipment (EE)
Use this command to add electrical equipment, such as panels and switchgear, to your project.
After activating the tool, click to place the equipment at the desired location.
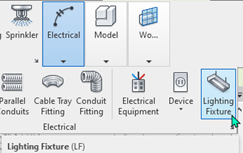
97. Lighting Fixture (LF)
This command allows you to insert lighting fixtures into your building model.
Activate the tool and click to place the fixture at the desired location.
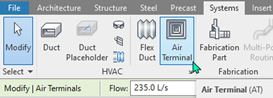
98. Air Terminal (AT)
You can use this shortcut to place air terminals such as registers and diffusers in your HVAC systems.
Activate the tool and click to place the terminal in the ductwork.
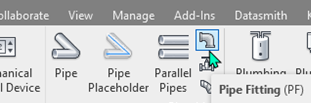
99. Pipe Fitting (PF)
With this command, you can draw pipe fittings such as elbows and tees in your piping systems.
After activating the tool, click to place the fitting in the pipe route.
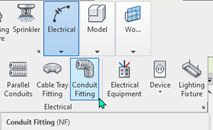
100. Conduit Fitting (NF)
Use this shortcut to add conduit fittings to your electrical wiring.
After activating the tool, click to place the fitting on the conduit path.
Summary
Getting the hang of Revit keyboard commands and shortcuts can truly transform how you work in architecture, structural engineering, or MEP design.
Keep practicing these shortcuts, and you'll see just how much easier and faster your work in Revit can become.
If you want to suggest a command and shortcut for this list then share it in the comment area down below.